
Last updated November 17, 2026
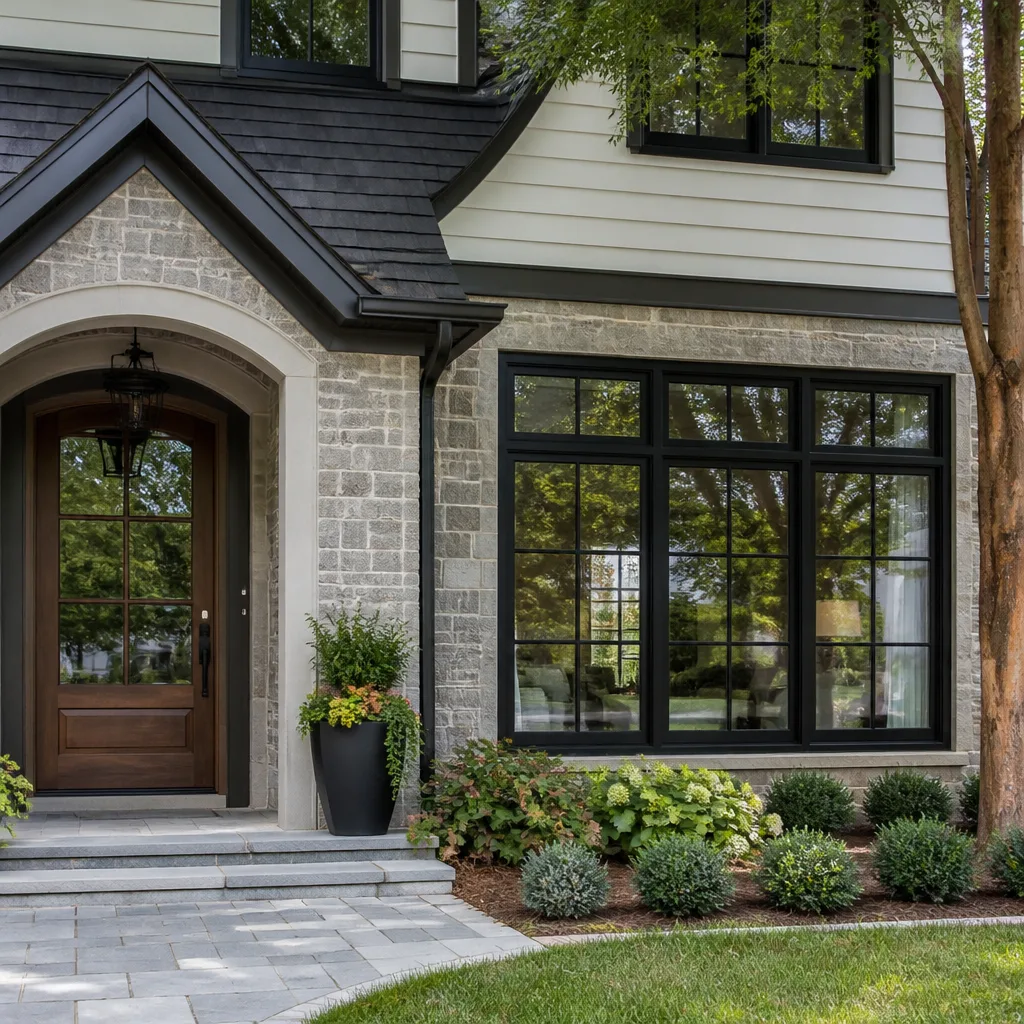 Windows & doors
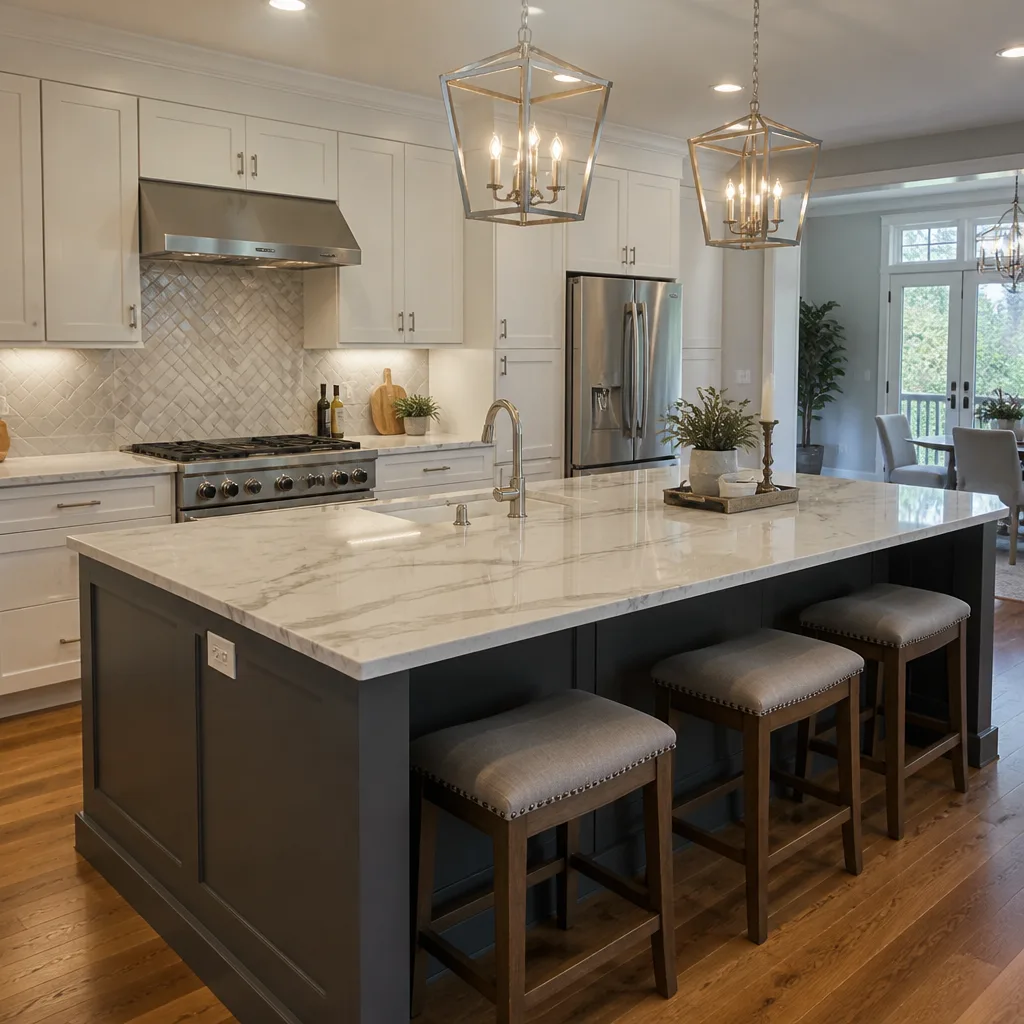 Kitchen remodeling
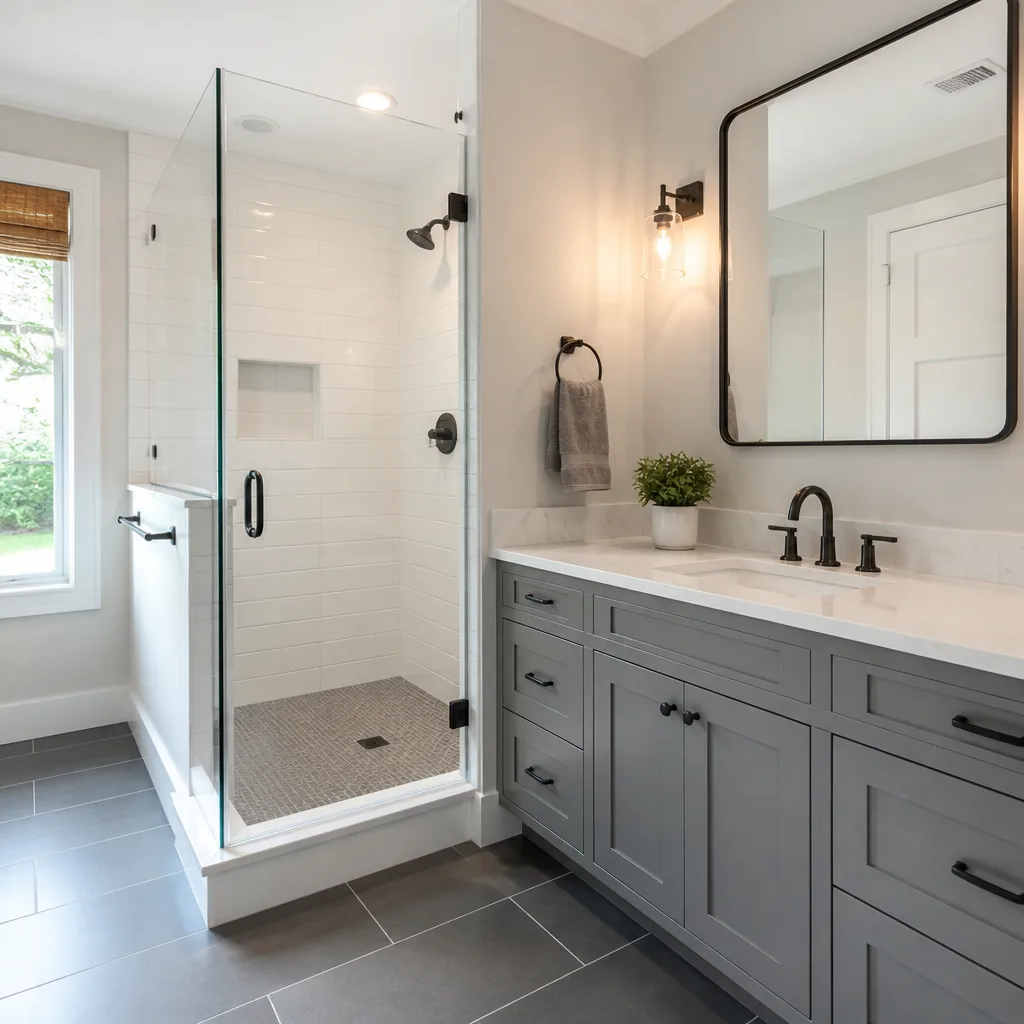 Bathroom remodeling
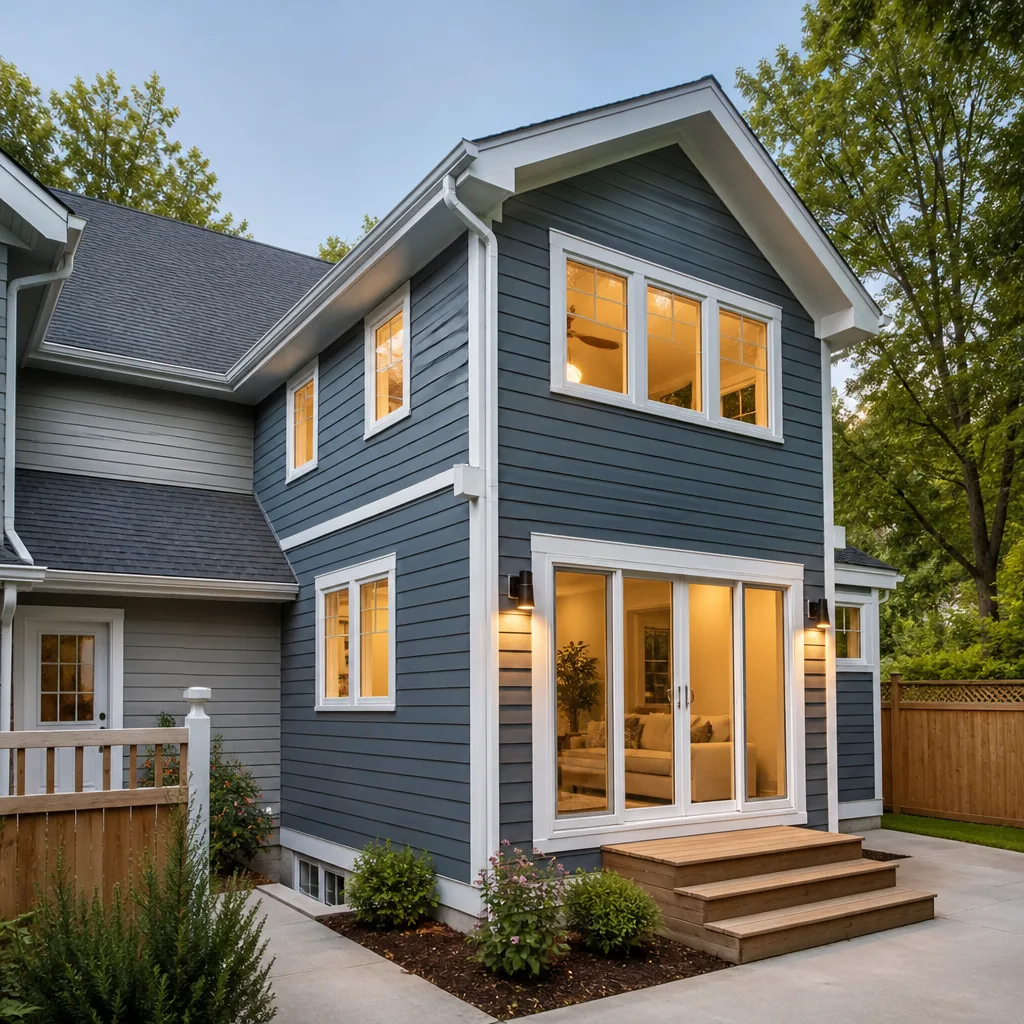 Home additions & ADU
 Roofing
 Driveway & pavers
 Fence
Free written scope consultation - allowances, timeline, and change-order rules on paper before a single trade is scheduled
DIY vs Professional Windows & Doors: What’s Safe to Do Yourself
YouTube makes window replacement look like two bolts and a bead of caulk. What it doesn’t show is the flashing tape sequence that determines whether that window leaks in year three, or the drain pan angle that keeps water moving away from your wall cavity instead of into it. Here’s the part most homeowners miss: when a replacement window fails early, the glass is almost never the culprit. The failure is in the flashing, the air sealing, and the ordering of steps nobody photographs. This guide draws the honest line between what’s genuinely safe to tackle yourself and what isn’t, with specific attention to how it plays out in Arlington homes.
Quick Answer
Safe DIY window and door work covers interior trim, hardware swaps, weatherstripping, caulk touch-ups, and swapping out a storm door or door slab in an existing frame. Full window replacement, exterior door installation, and anything that touches the rough opening or exterior flashing is professional work, and in Arlington it usually requires a permit and inspection. The dividing line is waterproofing: if the job opens your wall to weather, it’s not a weekend project.
Styles & brands we work with
- Kitchen remodeling
- Bathroom remodeling
- Home additions & ADU
- Roofing
- Windows & doors
- Driveway & pavers
- Fence
Table of Contents
- The Waterproofing Gap: Why DIY Window Failures Look Like Defects
- What Arlington Building Code Requires for Window Replacements
- The Safe DIY Scope: What You Can Actually Do Yourself
- How a Bad Install Voids Your Warranty and Threatens Your Insurance Claim
- What a Proper Window Installation Involves, Step by Step
- Doors Are a Different Animal: Slabs vs Pre-Hung vs Exterior
- What Our Crews Document That DIY Projects Skip
- Common Mistakes to Avoid
The Waterproofing Gap: Why DIY Window Failures Look Like Defects
Every window replacement has two jobs happening at once. The obvious one is setting the window and making it look right from the inside. The invisible one is building a waterproofing assembly around it, and the order you do those steps in matters as much as the materials.
Here’s how the sequence is supposed to run on a typical replacement:
- Cut back the opening and inspect the framing for rot, especially the sill plate.
- Slope the rough sill so water drains outward, not flat and definitely not inward.
- Install the sill pan or flexible flashing, lapping it up the sides of the opening.
- Apply flashing tape in shingle fashion, bottom to top, so each layer sheds over the one below.
- Set the window, shim it plumb and level, and fasten per the manufacturer’s schedule.
- Insulate the gap, then seal the frame-to-opening joint with the correct backer and sealant.
- Install the head flashing and exterior trim so water sheds over the sides.
Get that order wrong and the window still looks perfect the day you finish. The failure shows up three or four years later as soft drywall under the sill, peeling paint at the corners, or a stain on the ceiling below. Homeowners look at that and blame the window, but the window did its job. The assembly around it didn’t.
In Arlington, we see this pattern most often on two-story homes where the second-floor windows sit above a porch roof or an offset wall. Wind-driven rain from a spring storm hits those elevations hard, and a flashing detail that was skipped or reversed turns into a wet wall cavity by the second season. If you’re pricing out a bigger exterior project, our Barrett & Sons Construction Arlington home page covers how we schedule multi-trade work.
What Arlington Building Code Requires for Window Replacements
Most homeowners assume a permit is only needed for new construction. That’s not how Arlington handles it. When you change the size of a rough opening, alter the framing, or replace a window in a wall that’s part of the building envelope, the work typically needs a permit and an inspection. Like-for-like swaps in the same opening sometimes fall into a lighter category, but the rules hinge on specifics that a code office will ask about, so confirm before you buy anything.
Why should you care? Because the inspection isn’t red tape. The inspector checks the flashing, the fastening, and the water management details, which are exactly the parts you can’t see after the trim goes on.
The permit inspector works for you, not for me. That’s why we like him. On every eligible job, we pull the permit and get the inspection signed, because the last contractor many homeowners used told them permits were optional and the surprises showed up later.
A few practical things to know about Arlington-specific replacements:
- Hail is a real factor here. Storm-rated windows are worth asking about, and the install has to match the rating to hold up.
- Older neighborhoods around Arlington have varying wall construction, so the flashing detail changes home to home.
- If the replacement touches a wall that already had moisture issues, that has to be addressed before the new window goes in, not after.
The Safe DIY Scope: What You Can Actually Do Yourself
Here’s the good news. There’s plenty of window and door work you can do yourself with basic tools and a Saturday. None of it opens your wall to the weather, and all of it is reversible if you get it wrong.
Safe to tackle on your own:
- Interior trim work. Casing, sill noses, and apron boards can be replaced without touching the window unit.
- Hardware replacement. Door knobs, deadbolts, hinges, and window locks are straight swaps.
- Weatherstripping. New gaskets on doors and operable windows cut drafts fast and cost little.
- Caulk touch-ups on the interior side. Recaulking inside trim stops air leaks on that side and is easy to redo.
- Storm door replacement. Hanging a new storm door in an existing frame is a genuine weekend job.
- Door slab swaps. Replacing a slab in an existing interior jamb is manageable if you’re careful with hinge alignment.
- Paint and finish. Sanding, priming, and painting trim is where a DIY project actually pays off in how the room looks.
What’s not in that list is anything on the exterior side of the window or door. Once you’re cutting back siding, removing flashing, or setting a unit into a rough opening, you’ve left the safe zone. That’s not a knock on your skills. It’s that an exterior install failure doesn’t show up for years and when it does, it’s wet framing, not a crooked trim board.
How a Bad Install Voids Your Warranty and Threatens Your Insurance Claim
This is the part that costs homeowners real money. Manufacturer warranties on windows and doors cover the product, but they typically require installation per the manufacturer’s written instructions. If a claim comes in and the flashing wasn’t installed in the required sequence, the manufacturer can point to the install and deny the product claim.
The insurance side is worse. After a major storm, an adjuster is going to look at why water got in. If the conclusion is that the window wasn’t properly sealed or flashed, the claim can be reduced or denied, because the damage traces back to installation, not the storm. That’s a hard conversation to have in your driveway after a hail event.
Installing with recognized brands doesn’t fix this on its own. We install Andersen and Marvin windows, and the warranty support behind them is real, but only when the install follows the spec. The brand on the box doesn’t protect a skipped step.
This matters in Arlington because storm claims are common. A properly documented, permitted install is the difference between a clean claim and an argument with your carrier.
What a Proper Window Installation Involves, Step by Step
Here’s the honest sequence a professional install follows, so you can see exactly where the DIY version usually goes off the rails.
- Measure and confirm. Rough opening dimensions, wall thickness, and sill condition get verified before anything is ordered.
- Protect the interior. Floors, furniture, and trim get covered before demolition starts.
- Remove the old unit carefully. Frame condition gets inspected and any rot gets addressed.
- Prepare the opening. Sill slope, backing, and framing get corrected so the assembly has a solid base.
- Install flashing and pan. Bottom-to-top, shingle fashion, with the head flashing lapped last.
- Set and fasten the window. Shim, level, and fasten per the manufacturer’s schedule.
- Air seal and insulate. The right backer and sealant in the right gaps.
- Document with photos. This is the part most installs skip: photos of the flashing and sealing before the trim goes on, kept on file.
- Install exterior trim and interior trim. Water-shedding trim outside, finish trim inside.
- Inspection and sign-off. Permit inspection where required, and a walkthrough before the job closes out.
Steps 4, 5, and 8 are the ones an unsupervised DIY project almost always shortchanges. And step 10 is where an inspector catches anything that slipped through.
Doors Are a Different Animal: Slabs vs Pre-Hung vs Exterior
Doors come in three flavors for DIY purposes, and the difficulty jumps fast.
- Slab swap in an existing interior frame. DIY-friendly. Hinge alignment is the main challenge, and you can always rehang.
- Pre-hung interior door. Middle ground. Manageable if the jamb opening is true, but a crooked opening will fight you.
- Exterior door installation. Professional work. Exterior doors are part of the building envelope and carry the same flashing, sealing, and permit considerations as a window.
Exterior doors in Arlington take a beating from summer heat and storm-season rain, so the threshold and sill detail matters more than most homeowners realize. A door that leaks at the threshold rots the subfloor before you notice, and the fix isn’t in the door itself.
If a door project is part of something larger, we handle the framing and structural side as well. Our Home Additions & ADU in Arlington page covers that scope. For exterior work that ties into a door project, like a new approach or patio, our Driveway & Pavers in Arlington page shows where we install brands like Tremron and Techo-Bloc. And if the project includes updating your yard boundary or gate hardware, our Fence Installation in Arlington page is the right place to look.
What Our Crews Document That DIY Projects Skip
The single biggest difference between our installs and a typical DIY project isn’t the tool list. It’s the documentation.
On every install, our crew photographs the flashing sequence, the air sealing, and the moisture management detail before any interior trim goes on. Those photos stay on file. If you ever have a moisture question or need to file an insurance claim, the record of what’s behind the wall is there in writing and pictures.
Every scope, allowance, and price change arrives as a written change order before the work proceeds. No surprise invoices. The allowance that isn’t on paper is a surprise waiting for a date.
Every eligible job has the permit pulled and the inspection signed. Every completed job carries the 90-Day Done Right Promise, which is written on the contract, not buried in fine print. If something isn’t right, one call brings a fix.
We install Andersen and Marvin windows because the product support behind them is real and the spec is documented, so a warranty conversation actually goes somewhere. And we’ve been doing this locally for over 29 years, owner-operated from the start. A live person answers the phone around the clock, and our technicians have up to 28 years of experience.
If you’re thinking through the whole exterior scope of a project, a free second opinion on a written estimate is one of our standing offers, along with $40 off any repair over $200, no trip charge inside the county, and a permanent 10% senior and veteran discount. Free estimates, written line-item quotes, and fixed pricing on the work we do.
Common Mistakes to Avoid
- Trusting the YouTube version of flashing. Two bolts and a caulk bead looks clean on camera and skips the sill pan and shingle-lap tape that actually keep water out.
- Skipping the permit on a replacement. Some Arlington homeowners assume replacements are exempt from permits. They aren’t always, and the inspection is what catches hidden flashing errors.
- Assuming the warranty covers installation. Manufacturer warranties generally require installation per spec. Skip the spec and the warranty can walk.
- Filing a storm claim on an unpermitted install. An adjuster who finds an improper install can reduce or deny the claim after a hailstorm, and that’s a costly mistake to make.
- Replacing the window without looking at the sill. Rot under the sill doesn’t go away when you set a new unit. It comes back worse.
- Caulking over a failing sealant joint. A fresh bead over old caulk hides the problem for a season and doesn’t fix the leak.
- Installing exterior doors without a threshold plan. Arlington rain finds a bad threshold every time, and subfloor rot is the result.
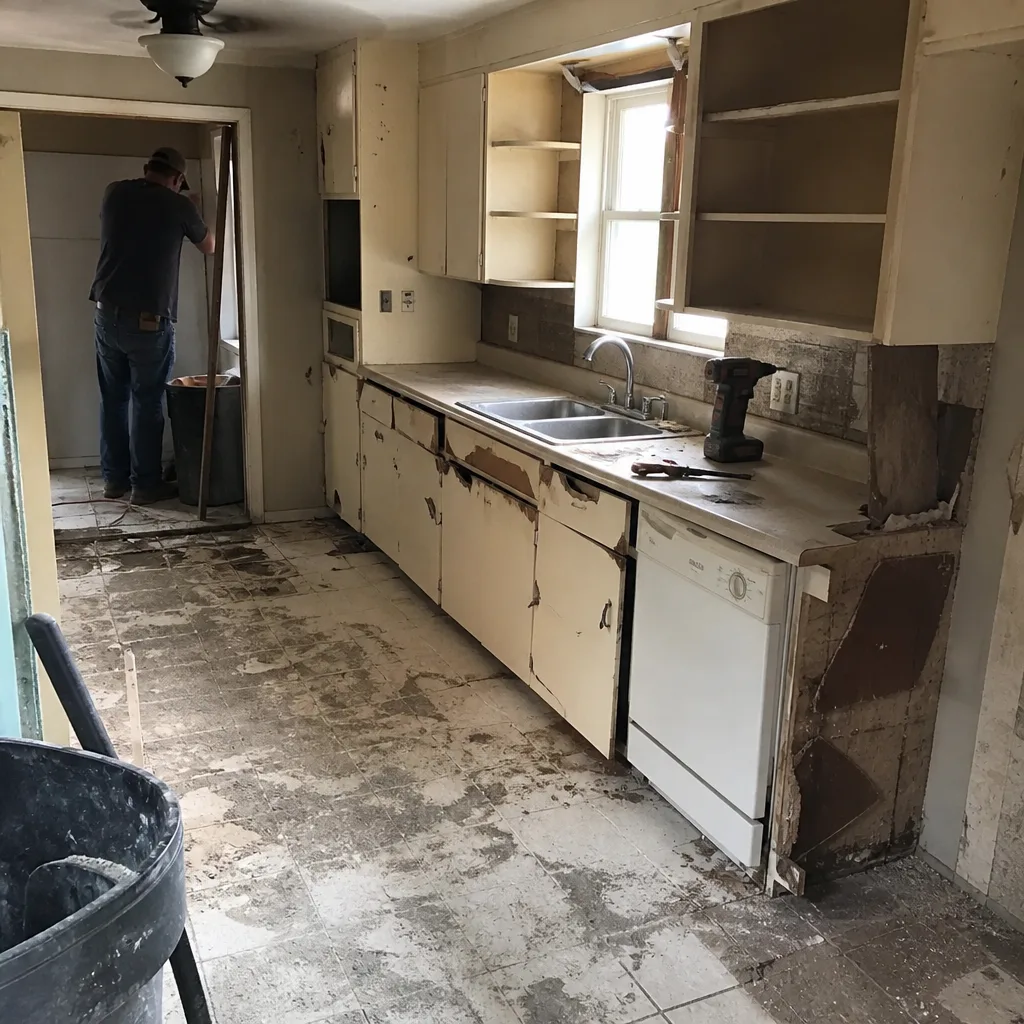
See the difference
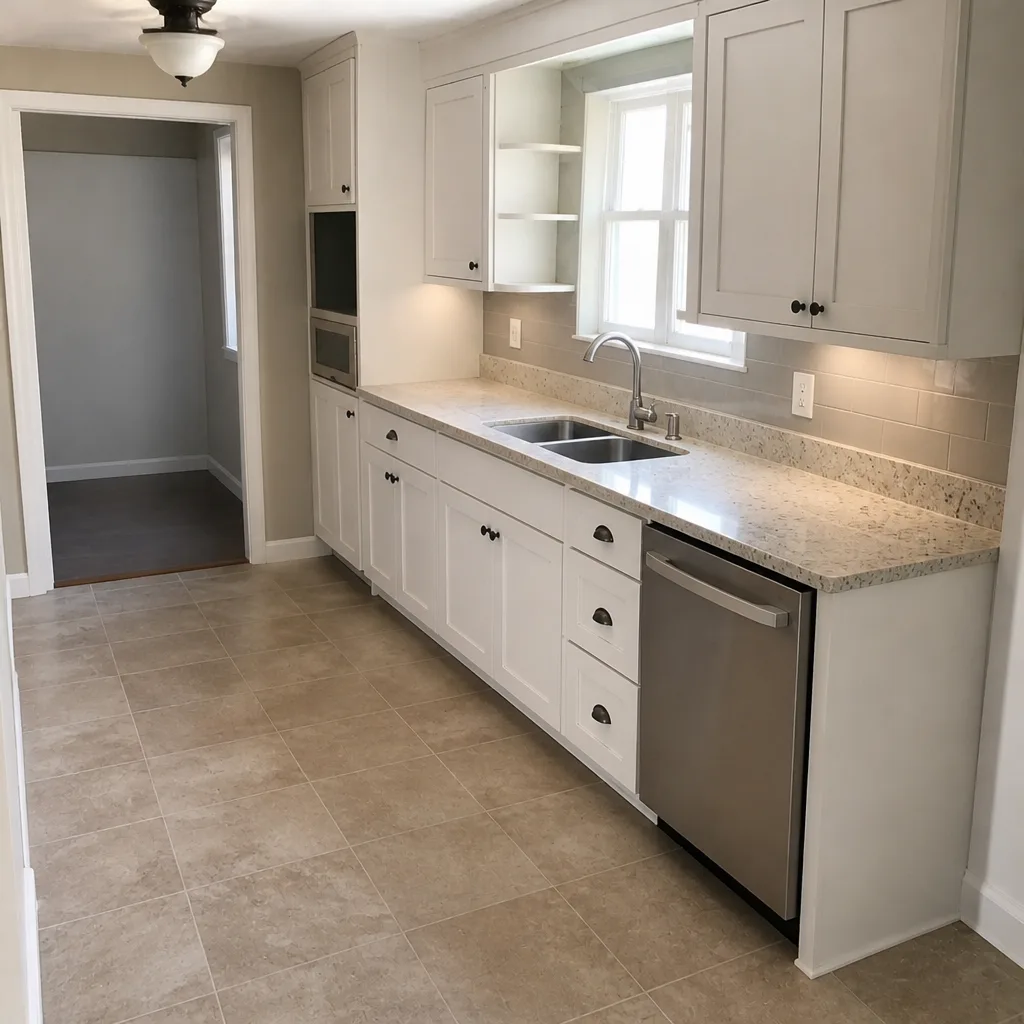
 Before
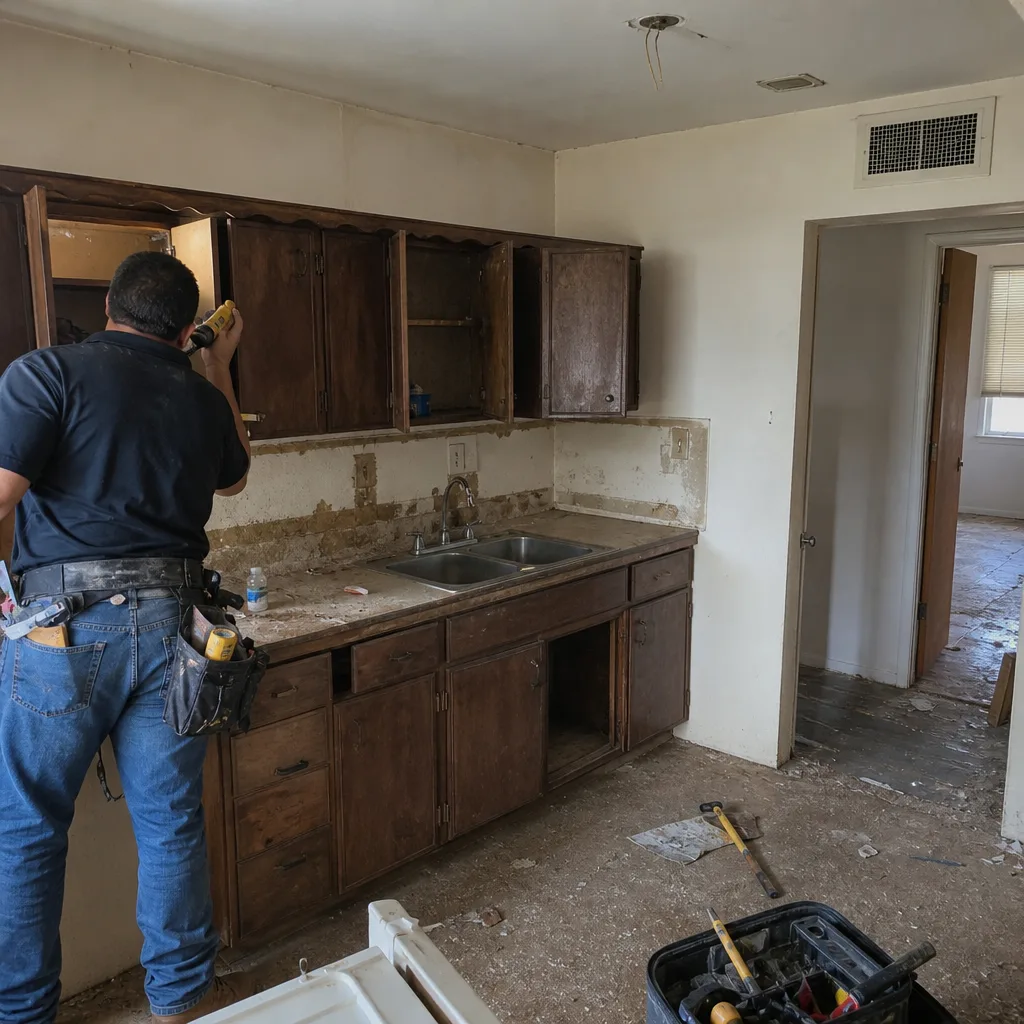
 After
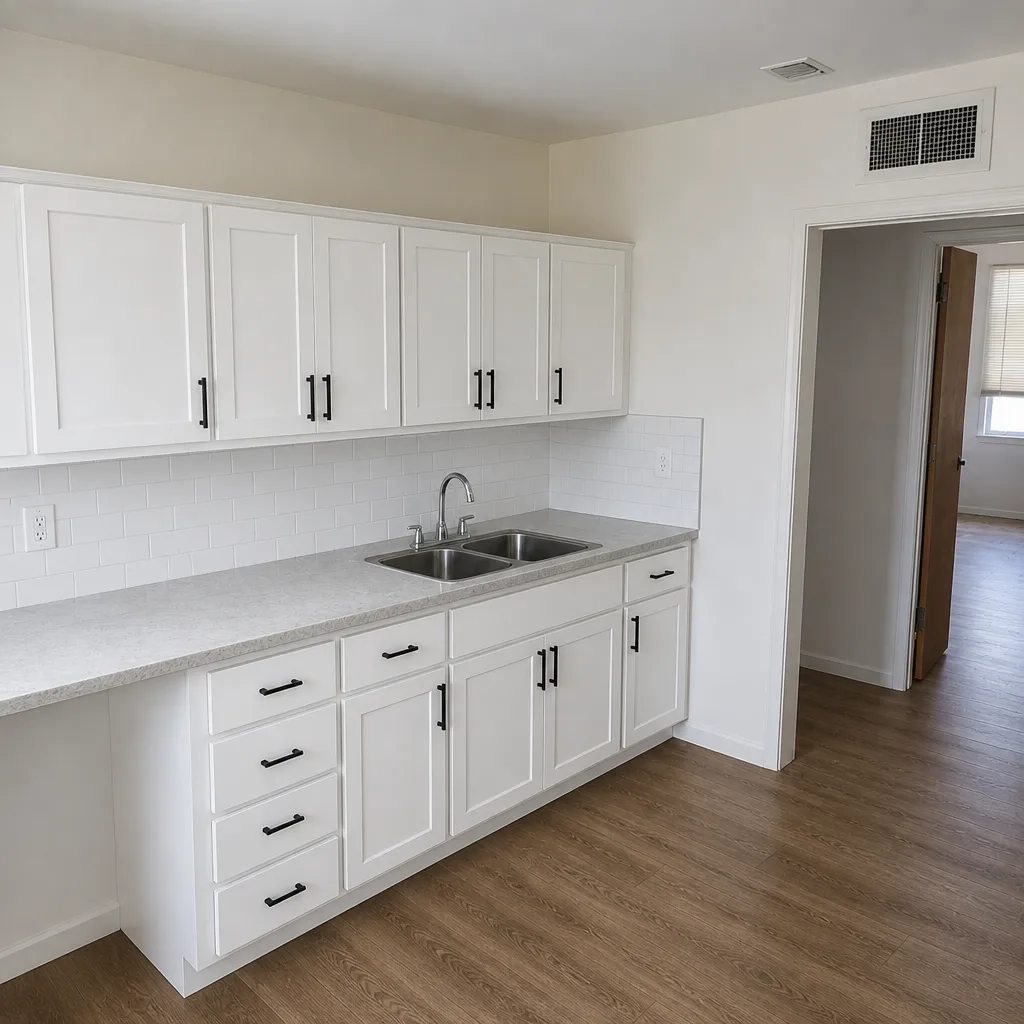
 Before
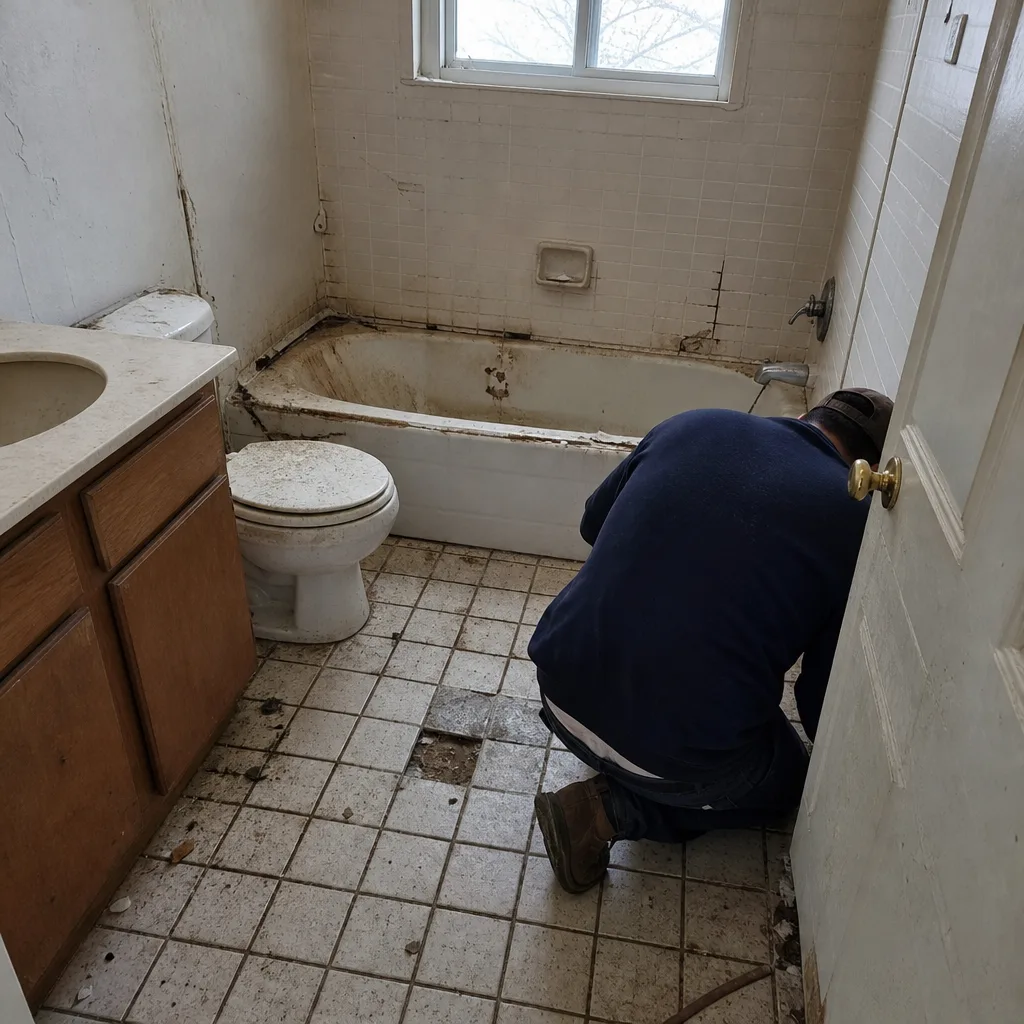
 After
 Before
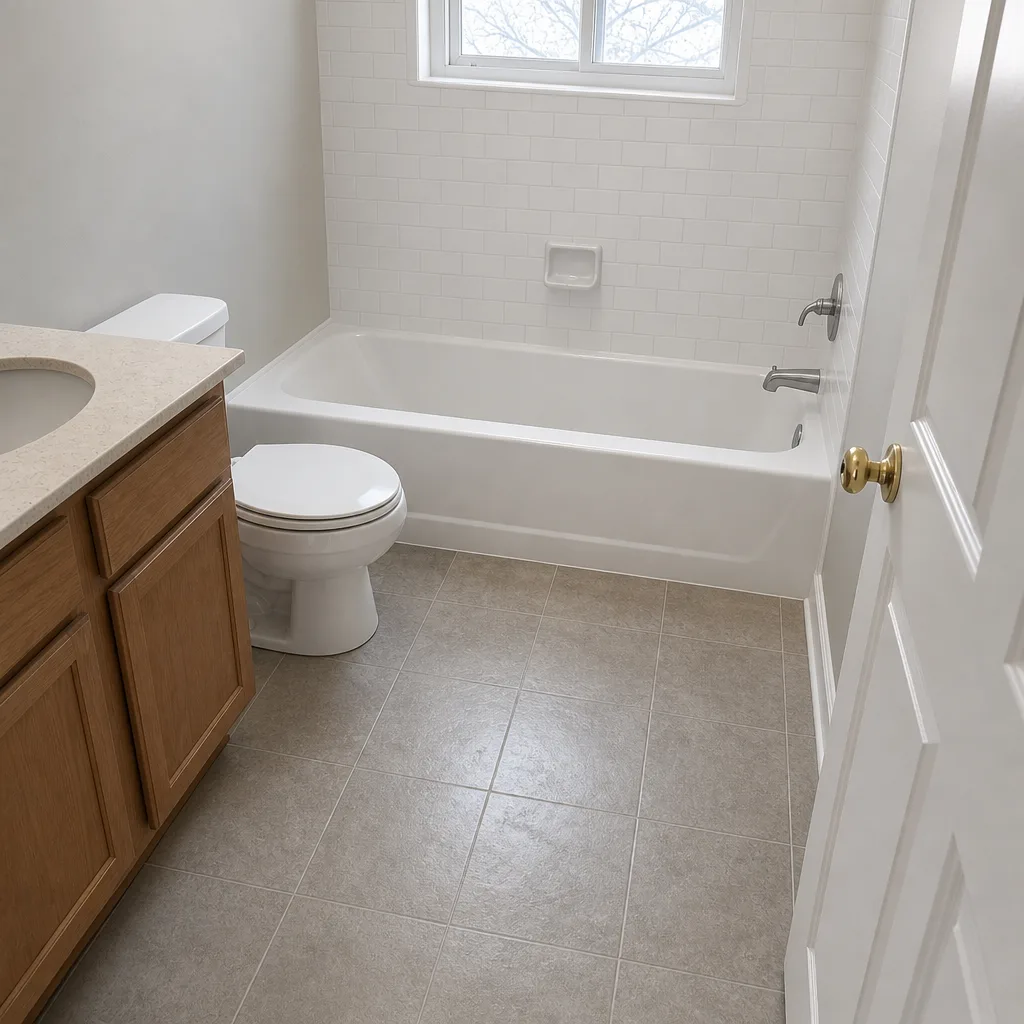 After
When to Call a Professional
Call a professional when the work touches the rough opening, the exterior flashing, or the building envelope. That includes full window replacement, exterior door installation, any job where the manufacturer’s install spec has to be followed for warranty, and any project that needs a permit and inspection in Arlington. It also includes cases where you’re unsure about the condition of the framing behind the existing unit; if you find rot, you want it addressed by someone who handles structural repair.
Barrett & Sons Construction Arlington offers free estimates in Arlington. Call (888) 590-9867 to schedule one. If you already have a written estimate from another contractor, ask for a free second opinion. We’ll read it with you.
Frequently Asked Questions
For full replacement, no. The money you save on labor is usually smaller than the cost of a redo after a water intrusion issue, and the permit and inspection that go with an Arlington replacement are what catch hidden flashing errors. Interior trim, weatherstripping, and hardware are genuinely worth doing yourself.
Often, yes, though it depends on the specifics of the job. Changing the rough opening or altering framing reliably triggers a permit and inspection. Call the Arlington code office with your address and project details to confirm before you buy, and if a contractor tells you permits are optional, get that in writing.
It can. Manufacturer warranties on windows and doors typically require installation per the written spec, and improper flashing or sealing is one of the reasons a claim gets denied. The product warranty is only as good as the documented install behind it.
It’s not recommended. An exterior door is part of the building envelope, and the threshold, sill, and flashing work decide whether water stays out over the long haul. In Arlington storm season, a bad threshold show up as subfloor rot years before you notice the door itself. Interior slabs are a different story and are genuinely DIY-friendly.
Interior trim, hardware replacement, weatherstripping, and interior caulk touch-ups are the safe zone. Anything that opens your wall to weather, including exterior caulk work around the frame or replacing the whole unit, should be professional. Storm door replacement is the biggest exterior job we’d call DIY-friendly.
Look for soft drywall under the sill, peeling paint or stains at the window corners, and moisture on the ceiling below the window after a heavy rain. If you find any of that, get it looked at before scheduling a replacement, because the problem isn’t the window. It’s the assembly around it.
The Bottom Line
Windows and doors split cleanly into two categories. Interior work on both is safe to DIY, and it’s a satisfying weekend project. Envelope work, meaning anything that opens your wall to weather, belongs to a professional, and in Arlington that usually comes with a permit and inspection. The failure mode of a DIY window install isn’t a crooked trim board: it’s a slow moisture problem you won’t see for years, a warranty that doesn’t cover the install, and an insurance claim that turns into an argument. Knowing where the line sits is the whole game.
Call Barrett & Sons Construction Arlington at (888) 590-9867 for a free estimate. Every price is a written line-item quote, every eligible job gets the permit pulled and inspection signed, and every completed job carries the 90-Day Done Right Promise.
Written by the team at Barrett & Sons Construction Arlington.