
Last updated November 17, 2026
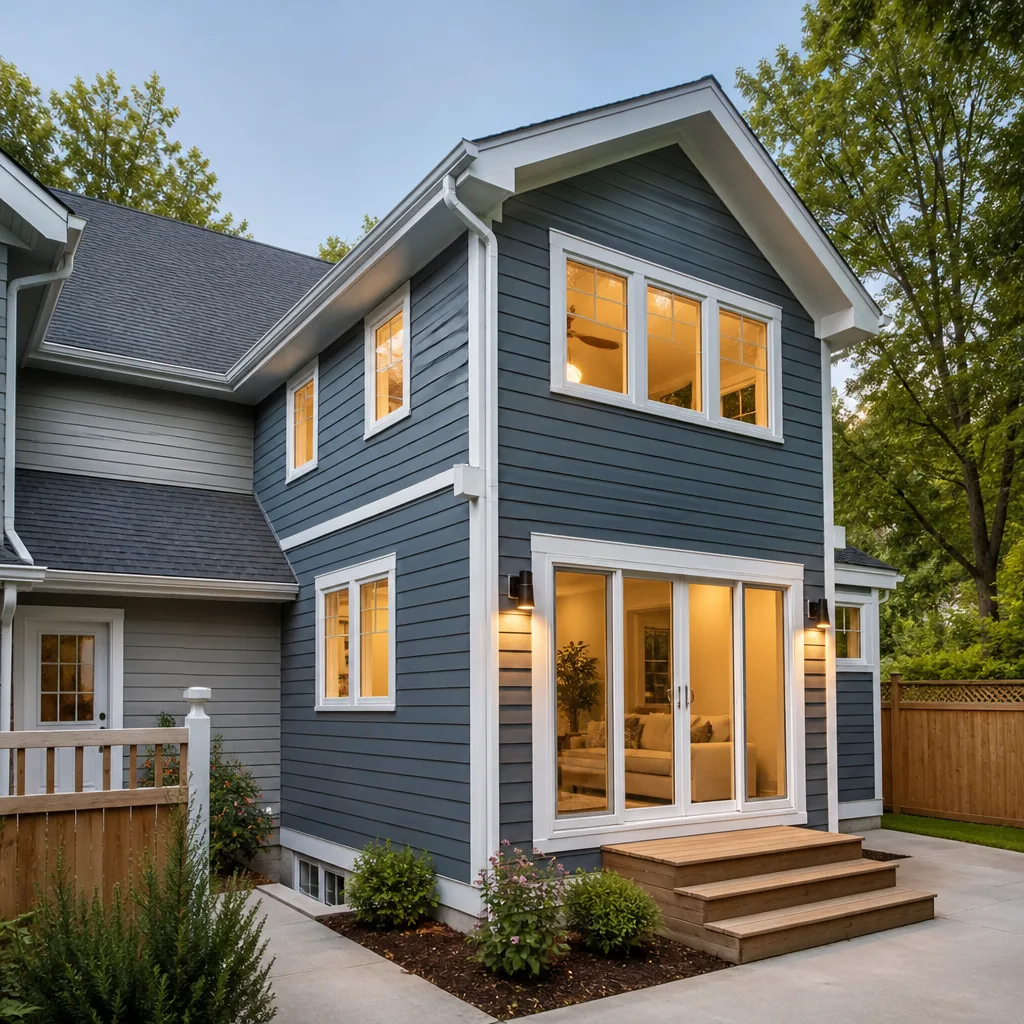 Home additions & ADU
 Kitchen remodeling
 Bathroom remodeling
 Roofing
 Windows & doors
 Driveway & pavers
 Fence
Free written scope consultation - allowances, timeline, and change-order rules on paper before a single trade is scheduled
Home Additions & ADU Troubleshooting: Common Problems and How to Fix Them
A foundation crack in a new addition isn’t always a disaster. But a hairline crack running diagonally from a window corner that shows up in the first six months usually means the footer wasn’t sized for North Texas clay. That’s a $400 fix if you catch it early and a $14,000 fix if you wait. Most addition problems we get called out to look at in Arlington were visible during framing. The homeowner just didn’t know what they were looking at, and nobody on the crew pointed it out. This guide teaches you what to watch for at the stage when problems are still cheap to correct.
Quick Answer
Most home addition and ADU problems fall into four buckets: foundation movement, HVAC undersizing, moisture at the tie-in where new meets old, and electrical issues from panel changes. The cheap-to-fix window is during framing and rough-in, before drywall goes up. After that, what cost hundreds turns into thousands. If you spot a problem, document it with photos and dates, don’t try to repair it yourself, and put your concerns to the contractor in writing so there’s a paper trail.
Styles & brands we work with
- Kitchen remodeling
- Bathroom remodeling
- Home additions & ADU
- Roofing
- Windows & doors
- Driveway & pavers
- Fence
Table of Contents
- How to Tell Cosmetic Settling Cracks from Structural Cracks
- Why Additions Run Hot in Summer and Cold in Winter
- Moisture at the Tie-In: The Most Common Addition Failure in North Texas
- Electrical Problems That Show Up After an Addition
- ADU-Specific Troubles: Permits, Utilities, and Access
- What to Check While the Walls Are Still Open
- You Found a Problem. Now What?
- What to Do When the Contractor Won’t Come Back
How to Tell Cosmetic Settling Cracks from Structural Cracks
Every new structure settles for the first year or two. Some cracking is normal. The question is whether the crack tells you the footer is fine or that it’s in trouble. North Texas clay soil swells when it’s wet and shrinks hard in a dry summer, and that movement works on a foundation differently than the sandy or rocky soils a lot of national construction advice is written for.
Here’s how to read a crack without an engineer. These are the visual cues we check first on any Arlington addition call.
- Hairline vertical cracks at a corner or along a control joint, under 1/16 inch wide, are almost always cosmetic settling. Note the width, take a photo with a ruler beside it, and check again in 60 days.
- Diagonal cracks running from a window or door corner up or down at roughly 45 degrees are the signature of footer movement or uneven support. This is the crack in the opening hook. It needs attention fast.
- Stair-step cracks in a block foundation running through the mortar joints are a structural signal. Call a structural engineer, not a handyman.
- Any crack wider than a quarter inch, or one that’s growing rather than stabilizing, drops into the structural bucket no matter what direction it runs.
- Doors and windows that suddenly stick in the new room, or a floor that feels sloped, tell you the same story a diagonal crack does: something is moving.
The single best thing you can do is date your photos. A crack that appears in month two and hasn’t moved by month eight is a different animal from one that grows 1/16 inch every season. If your addition is on clay-heavy ground, ask your contractor whether the footer was sized for the soil’s expansion. A properly sized, steel-reinforced pier or a footer poured below the active clay zone isn’t overkill here. It’s the difference between a $400 pier adjustment now and lifting a slab later.
Why Additions Run Hot in Summer and Cold in Winter
You added 400 square feet and your existing air conditioner never got the memo. This is the number one comfort complaint we hear after an addition in Arlington, and the cause is usually that the original HVAC system was sized for the original house, and the new space got bolted onto the existing ductwork with a couple of supply vents and a hope.
Underserved additions show predictable symptoms. In summer, the new room runs 5 to 8 degrees warmer than the rest of the house, the supply vent barely pushes air, and the system runs nonstop trying to satisfy a thermostat that’s reading the wrong room. In winter, the addition is cold near the floor and the far wall never catches up. Static pressure in the ductwork climbs because you’ve added length and turns to a system that was designed for a fixed run.
What actually fixes it is usually one of these, and we’ve seen all three on Arlington jobs:
- A dedicated mini-split heat pump for the addition. It’s the most common answer when the addition has its own thermostat zone or is far from the main trunk. It sidesteps the ducting problem entirely.
- Resized ductwork with a manual J load calculation run on the whole house, not a rule-of-thumb guess. The load calc tells you how many BTUs the addition actually needs, then the ducts get sized to deliver them.
- A zoning damper system if the main system has capacity to spare but can’t balance two zones that want different temperatures at the same time.
Ask for the load calculation in writing before anyone cuts a duct. An addition that’s undersized at framing stays undersized after paint, and retrofitting a mini-split behind finished walls costs more than doing it right the first time.
Moisture at the Tie-In: The Most Common Addition Failure in North Texas
The tie-in is where the new roof, wall, or foundation meets the old structure, and it’s where most additions in Arlington eventually leak. It’s not the framing that fails. It’s the flashing, sealant, and water-shedding detail at that seam. When a roofer meets an existing roofline, the new shingles have to shed water away from the old wall, not into it. When a new wall abuts an old one, water has to find a path off the roof and away before it ever reaches the join.
Inside, watch for these signs after a hard rain:
- Damp or discolored drywall along the ceiling line where the new room connects to the old.
- Peeling paint, bubbling drywall texture, or soft spots near the tie-in corner.
- A musty smell in the new room that shows up after storms and fades in dry weather.
- Water staining on the sill plate or floor trim where new meets old.
Outside, look up. Step back and study the seam where the new roof meets the old. You want to see continuous step flashing, a properly lapped house wrap, and sealant that’s still pliable, not cracked and pulling away. If the crew relied on a fat bead of caulk instead of a metal flashing and gravity doing the work, it will fail. On roofing work, we install GAF’s full system with the manufacturer’s flashing components for exactly this reason, and the same principle applies to an addition roof tie-in: rely on lapped metal and gravity, not sealant. Some contractors use Schluter’s waterproofing systems at bathroom and wet-area tie-ins; the detail matters more than the brand. If you’re sealing an addition soon, this is the stage to inspect, not after the interior’s painted.
If your addition needs a fence at the property line or a new driveway to match, those are separate jobs worth scoping on their own. For Fence Installation in Arlington and Driveway & Pavers in Arlington, the same inspect-at-the-seam rule applies.
Electrical Problems That Show Up After an Addition
An addition almost always means new circuits, new outlets, and often a panel that gets expanded or replaced. When electrical problems show up afterward, they almost always trace back to the panel work rather than the wiring inside the new room.
Here’s what each symptom usually means:
- Breakers that trip in the new space, or that now trip when they never did before, are usually an overloaded circuit or a breaker that was sized to the old load. If the addition’s circuits hold steady until the heater kicks on, the circuit ampacity is the answer.
- Outlets that go dead in the new room often point to a GFCI that tripped somewhere upstream, or to a loose neutral in a junction box the panel work disturbed. Check the nearest GFCI first, then call an electrician.
- A panel that’s warm to the touch, or a faint burning smell near it, is a stop-and-call moment. Turn the main off and get an electrician out. Panels and service wiring carry a real risk of fire and shock, and this is not a job for a homeowner with a screwdriver. A licensed electrician should handle anything at the panel.
- Lights in the new room that flicker when a big appliance starts can mean a shared neutral or an undersized service. Worth an electrician’s look even if nothing trips.
When the panel was opened up during construction, the inspector should have signed off on the load calculation and the breaker sizing. Compare your panel’s labeled breakers against what’s actually in the new room. If the labels don’t match what’s installed, that’s your conversation with the contractor, in writing.
ADU-Specific Troubles: Permits, Utilities, and Access
An accessory dwelling unit carries three problems you won’t hit with a plain addition. The first is permitting. Arlington treats an ADU as a dwelling, which means its own utility connections, its own address, and its own inspection sequence, and a lot of contractors who are comfortable with additions underestimate that. If your ADU is up but the permit never got closed out, you’ll hit it when you try to rent it, refinance, or sell.
The second is utilities. ADUs commonly run into a water pressure problem, a shared electrical service that can’t legally carry a second dwelling, or a sewer tie-in at the wrong slope. Those get expensive after landscaping goes in. The third is access: setbacks, alley access, and whether a fire truck can reach the unit. Check the local setback and access requirements before you frame, not after.
If you’re planning an ADU in Arlington, Home Additions & ADU in Arlington walks through the permitting sequence, the utility connections, and what inspections each stage needs. Pulling the permit isn’t optional, and the last contractor many homeowners used told them it was. It isn’t. The permit inspector works for you, not the contractor, and getting that inspection signed is your protection when the job’s done.
What to Check While the Walls Are Still Open
The framing and rough-in stages are when these problems are cheapest to fix. Walk your addition once a week and check these, in this order.
- Foundation and framing: Look at the footings and piers before they’re covered. Check that lumber spans match the plan and that openings are framed with headers, not just trimmed. Take photos before the insulation goes in.
- Roof and flashing at the tie-in: Before the shingles complete the seam, look at the step flashing and the underlayment. Ask the crew what sheds water away from the old wall. If the answer involves caulk, ask again.
- HVAC rough-in: Ask to see the load calculation and the duct sizing. Note the supply vent locations in the new room. If the only supply is at one end, the far end will be warm in summer.
- Electrical: Check the panel schedule and confirm the new breakers are labeled. Look at the GFCI locations in wet areas. Photograph the box before drywall goes up so you know where every wire runs.
- Moisture and vapor barriers: Check that house wrap laps correctly and that the vapor barrier is continuous at the tie-in, especially on the wall that faces the prevailing weather.
If you don’t know what you’re looking at on any of these, that’s fine. Ask the crew to walk you through it. A contractor who’s proud of the work will. A contractor who’s cutting corners will get uncomfortable at the first hard question. Pay attention to which one you’ve hired.
You Found a Problem. Now What?
Don’t repair it. That sounds backwards, but the first job when you find a problem is preserving the evidence, not patching it. If you caulk a crack or spackle a stain before the contractor sees it, you’ve erased the record that would have fixed it for free.
Here’s the sequence we recommend to every homeowner:
- Document it. Photograph the problem with a ruler or a common object for scale. Note the date and what you were doing when you noticed it. Keep a running log with the addition’s job file.
- Don’t repair it. Especially the crack, the moisture stain, or the dead outlet. The contractor needs to see the problem in its original condition.
- Put it in writing. Email or text the contractor with the photos and dates. Written notice establishes a record. A phone call about a leaking tie-in, however friendly, doesn’t hold up when the conversation gets disputed later.
- Read your contract and warranty. Every construction contract should spell out the warranty period, what’s covered, and how a claim is made. If a contractor’s warranty isn’t written down, it doesn’t exist.
- Ask for a written resolution. A repair plan, a scope, and a timeline, in writing, before anyone touches the problem. That’s how we run every job at Barrett & Sons: written change orders before scope changes, and the 90-Day Done Right Promise on every contract. If it isn’t done right, the crew comes back and makes it right, one call.
One more thing: if the problem is a foundation crack or anything involving the structural integrity of an addition, get a structural engineer’s opinion before you accept the contractor’s explanation. An engineer works for you, and a written report is worth more than a handshake.
What to Do When the Contractor Won’t Come Back
This happens. The contractor who built the addition stops returning calls after the punch list. What you have, at that point, is the written record, and that record is what determines whether you can recover anything.
Start with the contract, the warranty, the permits, and your photo log. If the permit was pulled under the contractor’s license, the inspection record shows what was signed. If the permit was never pulled, that’s a violation you can report to the local building authority, and it’s also leverage. Send a final written demand, by email and by certified mail, with the photos and a clear ask. Give a firm deadline. Many contractors, when they see a written record and a permit trail, come back to resolve it because the alternative costs them more.
If the contractor is unresponsive after a written demand, the next steps depend on the size of the problem. For small problems, a small claims action is often the cheapest route, and the written record is your case. For anything structural, get the engineer’s report first, because you’ll need it. If you’re in the middle of an addition or ADU project in Arlington and you’re not sure whether what you’re looking at is a problem or normal settling, get a second opinion before you do anything else. Our free second opinion on any written estimate exists for exactly this situation.
Common Mistakes to Avoid
- Caulking over a crack before the contractor sees it. It hides the evidence and can void a legitimate warranty claim. Photograph it first, always.
- Skipping the load calculation on the HVAC. Guessing BTUs by square footage is how an addition ends up 8 degrees warmer than the rest of the house every Arlington summer. Ask for the manual J.
- Letting the tie-in rely on sealant instead of flashing. Caulk is a patch, not a water-shedding system. On the roof seam, demand lapped metal and proper house wrap, and look up at it yourself before the crew finishes.
- Assuming the permit isn’t needed. Arlington treats an ADU as a dwelling. No permit means no inspection, and no inspection means no record if you have to sell or refinance.
- Trusting a verbal warranty. If the warranty isn’t in the contract, it doesn’t exist. Get it in writing or pick a different contractor.
- Trying to fix electrical or panel problems yourself. Anything at the panel carries a real risk of shock and fire. Call a licensed electrician, and don’t open the panel to “take a look” first.
- Choosing a contractor on phone price alone. The national company quoting one price on the phone and billing another at the door is the story we hear most. Get the scope, allowances, and change-order policy in writing before you sign anything.
See the difference
 Before
 After
 Before
 After
 Before
 After
When to Call a Professional
If the crack is diagonal, wider than a quarter inch, or growing between visits, get an engineer out. If the ADU’s utilities weren’t inspected or the permit was never pulled, that’s a professional correction, not a weekend project. If you have a persistent moisture stain at the tie-in, an unresponsive contractor, or an electrical panel that trips, smells warm, or was opened up during construction, call a licensed electrician or structural professional before doing anything else. Gas lines, high-voltage panels, and structural footings are not areas where a homeowner with a drill and a YouTube video should operate. If you’re in the middle of a project and want a second set of eyes, Barrett & Sons Construction Arlington offers free estimates in Arlington. Call (888) 590-9867. A live person answers, day or night, and a free second opinion on any written estimate is standing policy.
Frequently Asked Questions
No. Hairline vertical cracks under 1/16 inch at a corner or control joint are normal settling. Diagonal cracks from a window corner, stair-step cracks through block mortar, and any crack wider than a quarter inch are the ones that need a structural engineer. Date your photos so you can tell whether the crack is stable or growing.
The addition is warmer because the ductwork was extended to serve it without resizing, so the new room gets less supply air than it needs. In Arlington, this shows up hard in July and August. The fix is usually a mini-split for the addition or a load calculation and resized ducts. Ask for the manual J in writing before anyone cuts a duct. If you want a professional to look at it, call (888) 590-9867 for a free estimate.
At the tie-in, where the new roof, wall, or foundation meets the old structure. That’s where the flashing and house wrap detail decides it. Interior signs are damp drywall at the ceiling line, bubbling paint, and a musty smell after storms. Outside, look for lapped step flashing and pliable sealant, not a fat bead of caulk holding back the water.
Yes. Arlington treats an ADU as a dwelling, so it needs its own permits, utility connections, and inspection sequence. An unpermitted ADU blocks you at rental, refinance, or sale. If you’re not sure whether the permit was pulled, check with the local building authority before you invest another dollar in the unit.
It can be. Dead outlets usually trace back to a tripped GFCI upstream or a loose neutral in a box the panel work disturbed. Breakers that trip when they never did before usually mean the circuit is overloaded or sized to the old load. A panel that’s warm or smells hot is a call-an-electrician-now situation. Don’t open the panel yourself.
It shouldn’t change without a written change order. That’s the rule at Barrett & Sons. Every scope, allowance, and price change gets written down and signed before the work happens, so the number you see at the end matches the number you agreed to at the start. An allowance that isn’t on paper is a surprise waiting for a date. For a free second opinion on any written estimate, call (888) 590-9867.
The Bottom Line
Most addition and ADU problems that show up after move-in were visible during framing. Diagonal cracks from window corners, hot and cold rooms, moisture at the tie-in, and tripping breakers all announce themselves early, when the fix costs hundreds rather than thousands. Study the framing stage, ask hard questions, get the load calculation and the warranty in writing, and photograph the problem before anyone patches it. If a contractor won’t come back, your written record and permit trail are what recover the situation. For a free second opinion in Arlington, or to plan your addition right the first time, see our Barrett & Sons Construction Arlington home and call (888) 590-9867. Our technicians have up to 28 years of experience, permits are pulled and inspections signed on every eligible job, and every completed job is backed by the written 90-Day Done Right Promise.
Written by the team at Barrett & Sons Construction Arlington.