
Last updated November 17, 2026
 Bathroom remodeling
 Kitchen remodeling
 Home additions & ADU
 Roofing
 Windows & doors
 Driveway & pavers
 Fence
Free written scope consultation - allowances, timeline, and change-order rules on paper before a single trade is scheduled
Bathroom Remodeling Troubleshooting: Common Problems and How to Fix Them
Grout cracking within six months of a bathroom remodel is almost never a grout problem. It’s a substrate problem – tile installed over a surface that’s moving – and the fix requires pulling tile, not regrouting. That distinction matters, because the most expensive bathroom remodel troubles in Arlington aren’t the ones homeowners call us about. They’re the ones hidden behind the walls that a previous remodel covered up: rotted subfloor under a twenty-year-old tub surround, galvanized supply lines quietly narrowing to a pinhole, greenboard where cement board belonged. This guide covers what to look for during a remodel and after, so you catch the buried problem before it becomes a second remodel.
Quick Answer
Most post-remodel bathroom failures trace to one of five causes: a moving substrate under tile (grout cracks, floor lippage), flexible caulk failing at wet seams, mineral-heavy North Texas water clogging new fixtures and aerators, an undersized or poorly ducted exhaust fan leaving condensation behind, or old galvanized supply lines that a fixture swap suddenly exposes. Diagnosing means asking “what moved, what clogged, and what was already failing before we started?” A written change order and a documented subfloor inspection catch most of these before the tile goes down.
Styles & brands we work with
- Kitchen remodeling
- Bathroom remodeling
- Home additions & ADU
- Roofing
- Windows & doors
- Driveway & pavers
- Fence
Table of Contents
- The Five Most Common Post-Remodel Failures (Diagnostic Framework)
- Grout Cracking and Floor Tile Lippage
- Caulk Failure at Tub and Shower Seams
- Low Water Pressure After a Fixture Swap
- Exhaust Fan Condensation and Moisture Problems
- The Water Damage Discovery: What to Do When a Remodel Reveals a Problem
- New Tile, Old Problem: Testing the Subfloor Before It Goes Down
- When a Contractor’s Work Fails: The Homeowner’s Remediation Path
The Five Most Common Post-Remodel Failures (Diagnostic Framework)
When a bathroom starts misbehaving after a remodel, work through a fixed order of questions instead of guessing at the visible symptom. The symptom is rarely the cause. We use this framework on every callback, and it’s saved more tile than any single repair method.
- What moved? Tile and grout fail when the surface beneath them flexes. A cracked grout line running in a straight run across a floor usually follows a joist seam or a plywood joint – a substrate issue, not a grout issue.
- What clogged? New fixtures don’t create pressure; they reveal it. If a brand-new showerhead dribbles, the restriction is upstream – aerator screens, a partially closed valve, or old galvanized pipe scale.
- What’s wet that shouldn’t be? Caulk that peels in a continuous strip points to movement at a joint. Caulk that turns black and molds points to trapped moisture behind it.
- What was already failing before we started? A fixture swap on a fifty-year-old valve body can crack a seat that was barely holding. That’s not new damage – it’s exposed damage.
- What’s the house telling us? Fogged mirrors, peeling paint on the ceiling above the shower, and a rust streak at the fan grille all point to the same culprit: exhaust.
Answer those five in order and you’ll know whether you’re looking at a cosmetic fix, a substrate rebuild, or a plumbing problem that runs well past the bathroom wall. In Arlington homes built in the 1960s and 70s, the answer is often the third one.
Grout Cracking and Floor Tile Lippage
Grout that cracks in a straight line, or tile edges that sit at different heights (lippage), means the tile assembly is moving. Regrouting is a patch, not a repair. Here’s what’s actually happening and what the fix costs.
Lippage – that sharp step where one tile edge sits higher than its neighbor – usually traces to one of three things: a subfloor with too much deflection, thin-set spread unevenly, or large-format tile laid over a floor that was never truly flat. The Tile Council of North America allows a max lippage of about 1/32″ for most floor tile joints, plus the natural warpage of the tile itself. Anything beyond that is a trip hazard and a future crack.
Grout cracks fall into two camps:
- Straight-line cracks following a joint: substrate movement. The plywood panels flexed, or a joist seam telegraphs through.
- Spider-web cracks at tile corners: often a point-load issue – a heavy fixture dropped or a floor that isn’t fully supported.
In Arlington, expansive clay soil and seasonal moisture swings cause foundation movement that shows up in bathroom floors before anywhere else, because that’s where the tile plane is widest and thinnest. We’ve pulled up floors in Dalworthington Gardens and Pantego where a hairline crack in year one became a loose tile field by year four.
Repair typically runs $300-$900 to remove and reset a small field of tile with proper substrate prep, versus $2,500-$6,000 to rebuild a floor that was laid over a flexing subfloor without a decoupling membrane or backer board. Fixing the cause first is always cheaper.
Caulk Failure at Tub and Shower Seams
Caulk around a tub or shower base fails for a simple reason: the tub flexes, the wall doesn’t, and a hard joint between two materials that move differently will always crack. The mistake is treating it as a caulk brand problem. It’s a joint design and surface-prep problem.
Common causes, in order of frequency:
- Caulk applied over a wet or dusty surface: nothing sticks to damp grout or grit. Prep matters more than the tube.
- 100% silicone in the wrong place: silicone is durable but rigid and unforgiving. Around a fiberglass tub that flexes, a high-quality siliconized acrylic or a flexible urethane often holds better.
- Gaps too wide for caulk alone: a 3/8″ gap needs backer rod behind the caulk, or it fails within a season.
- Water already behind the caulk: if the seam is wet when you recaulk, you’ve sealed the moisture in, and it comes back as mold.
Recaulking is the rare bathroom fix most homeowners can do well themselves: remove all old caulk (not just the loose part), clean with rubbing alcohol, let it dry completely, and fill with backer rod where gaps are deep. If the seam is wet, moldy, or soft underneath, it’s a leak, not a caulk problem, and it needs a professional look. Tubs leaking into a crawl space for a year is a common find in older Arlington neighborhoods like Meadowbrook and Handley.
Low Water Pressure After a Fixture Swap
When a new showerhead, faucet, or supply line delivers weak pressure, the first question is whether the restriction is in the fixture or upstream. A quick test settles it: check the flow at another fixture in the house. If the kitchen sink is strong and only the bath is weak, it’s local. If the whole house is weak, the fixture swap exposed an existing supply problem.
In Arlington homes with original galvanized steel supply lines – common in construction from the 1950s through the 1970s – the inside of the pipe builds up mineral scale and rust until the effective diameter shrinks. That scale can break loose during a fixture swap and lodge in an aerator screen or a new shower valve cartridge. The result looks like the new fixture is defective when the line has been quietly failing for decades.
What to check before calling anyone:
- Unscrew the aerator on the new faucet and rinse the screen. This fixes more “low pressure” calls than any repair.
- Check the angle stop valves under the sink – a half-closed valve starves flow.
- Flush the new shower valve cartridge screen per the manufacturer’s instructions.
- Test at multiple fixtures to isolate local versus whole-house.
If a whole-house pressure test reads below about 45 PSI at a hose bib, or if multiple fixtures have weakened since the swap, the fix is in the supply lines, not the fixture. That’s a bigger conversation – sometimes a partial repipe, sometimes a single valve – and worth a free second opinion on any written estimate before you commit.
Exhaust Fan Condensation and Moisture Problems
Foggy mirrors, peeling paint on the ceiling, and a bathroom that never seems to dry out usually point at the exhaust fan – either it’s too small, it’s ducted wrong, or it isn’t running long enough. Bathroom fans are rated in cubic feet per minute (CFM), and the rule of thumb is one CFM per square foot of floor area. A 5×8 bathroom (40 sq ft) needs a 40-CFM fan minimum; a 10×10 bath needs 100 CFM.
Common exhaust mistakes we find in Arlington remodels:
- Fan ducted into the attic, not outside. Warm moist air dumps into the attic and condenses on the roof deck. On a North Texas attic that hits 140°F in July and 30°F in January, this is a mold and rot setup, and it’s the single biggest hidden problem we find.
- Fan undersized for the room. An old 50-CFM builder-grade fan on a 100-square-foot bath.
- No timer or inadequate run time. Ten minutes of fan isn’t enough. Showers need 20-30 minutes after you leave.
- Damper stuck open or closed. A stuck damper either lets outside air in or blocks the vent entirely.
If the ceiling above your shower shows bubbling paint or a rust ring around the fan grille, the fan is failing to clear moisture and it deserves a look. Humidity in a bathroom also feeds mold in the wall cavities, which is exactly the kind of hidden problem this guide exists for.
The Water Damage Discovery: What to Do When a Remodel Reveals a Problem
The hardest moment in a bathroom remodel is the reveal – pulling the old tub or tile and finding black framing, a soft subfloor, or corroded copper. It happens in more Arlington remodels than most homeowners expect, especially in homes past their second or third decade. Here’s how to handle it without a meltdown.
Step 1: Stop and document in writing. Photos with a ruler or a date reference, a written description of what was found, and – critically – what’s the minimum repair to make it right versus what’s optional. Don’t let anyone put drywall back up over it until you’ve seen it.
Step 2: Diagnose the source, then the damage. A rotted tub surround usually means a failed caulk joint or a leaking valve; a rotted subfloor under the toilet means a failed wax ring; corroded pipes mean age and water chemistry. Fix the source or the damage returns.
Step 3: Get it in a written change order. A legitimate contractor issues a change order – with scope, price, and timeline – before touching the hidden damage. If someone starts pulling up subfloor and hands you a bill at the end, that’s not a change order, that’s a surprise.
Typical costs in an Arlington-market remodel: minor subfloor repair $300-$800; a section of rotted framing $500-$1,500; mold remediation on a limited area $1,000-$3,000; a partial plumbing repipe $1,500-$4,000. These are ranges – every house is different – but a written change order locks the number before the work starts.
New Tile, Old Problem: Testing the Subfloor Before It Goes Down
Tile is only as good as the surface under it. A subfloor that flexes even 1/16″ over a joist span will crack grout and pop tile within a year or two, and the tile setter usually never gets the blame because the tile “looked fine” when it went in. This is the step budget remodels skip to keep the number on the estimate low.
Deflection is the measure of how much a floor flexes under load. For most tile, the floor structure needs to be stiff enough (L/360 is the usual standard). A reputable tile job confirms it before mortar hits the floor. Here’s what a proper pre-tile check looks like:
- Measure the joist size, spacing, and span and run the deflection calculation.
- Walk the floor and look for bounce – a heavy person stepping in the middle of the room and feeling movement is a red flag.
- Check that plywood panels are screwed down tight and the joints are properly staggered.
- Confirm the substrate: cement backer board or an uncoupling membrane over the subfloor, not tile set directly on plywood or greenboard.
- Check for a flat floor – a 10-foot straightedge should show no more than about 1/8″ deviation.
The fix for a bouncy floor is usually adding blocking or a second layer of subfloor – not expensive if done before tile, very expensive if done after. On a guide like this, we’d say: ask your contractor, in writing, how they’re addressing subfloor deflection before the tile goes down. If the answer is “it’ll be fine,” that’s a problem.
When a Contractor’s Work Fails: The Homeowner’s Remediation Path
If a bathroom remodel starts failing inside the warranty period, the right response is a paper trail, not a phone call. A live conversation is good; a written record is what gets a bad job fixed. Here’s the sequence that works.
- Document the failure in writing, with photos and dates. Note when it started, what it looks like, and how it’s affecting the room. Send it in a written notice – email is fine, certified mail is better if the contractor stops responding.
- Reference the warranty language in your contract, specifically. Quote the clause. Most warranties cover workmanship defects (grout failing in the first year, a squeaking floor they rebuilt) and exclude damage from the homeowner’s own use, pre-existing conditions, and normal wear. “Warranty” is a broad word; the contract defines what it means.
- Give a written deadline for a response. Two weeks is reasonable for a schedule. If they don’t reply, a certified letter escalates the record.
- Get a second opinion in writing. An independent written assessment of what failed and why is worth every dollar if this ends up in a dispute – and a free second opinion on any written estimate is a standard thing to ask for.
- Check the permit and inspection record. If the failed work was part of a permitted remodel, the inspection record tells you what was signed off and when.
The difference between a contractor who fixes a failure and one who disappears is often whether the warranty was in writing to begin with. That’s why a written 90-Day Done Right Promise on the contract is worth more than a friendly promise over the phone.
Common Mistakes to Avoid
- Regrouting cracked grout without finding the cause. A crack that follows a line will return within months if the substrate is still moving. Fix the substrate first.
- Recaulking over wet or moldy seams. Sealing moisture in makes the problem worse and returns as mold. Dry it out, then caulk.
- Skipping the subfloor deflection check to keep the bid low. It’s the single most common reason a “budget” bathroom remodel in Arlington needs a redo in year three.
- Venting the bathroom fan into the attic. Common in older homes around Arlington and a setup for attic mold and roof rot. The fan has to exhaust outside.
- Swapping fixtures without testing the supply lines first. On original galvanized lines, a fixture replacement can expose a whole-house pressure problem that was invisible until the swap.
- Paying for hidden damage without a written change order. If a remodel reveal uncovers rot, you want the scope, price, and timeline in writing before the repair starts – not a surprise line on the final invoice.
- Accepting verbal warranty promises. If it isn’t on the contract, it isn’t a warranty; it’s a hope.
Each of these is a cheap fix done early and an expensive fix done late. The pattern is always the same: the visible symptom isn’t the cause, and the cause is what belongs on paper.
See the difference
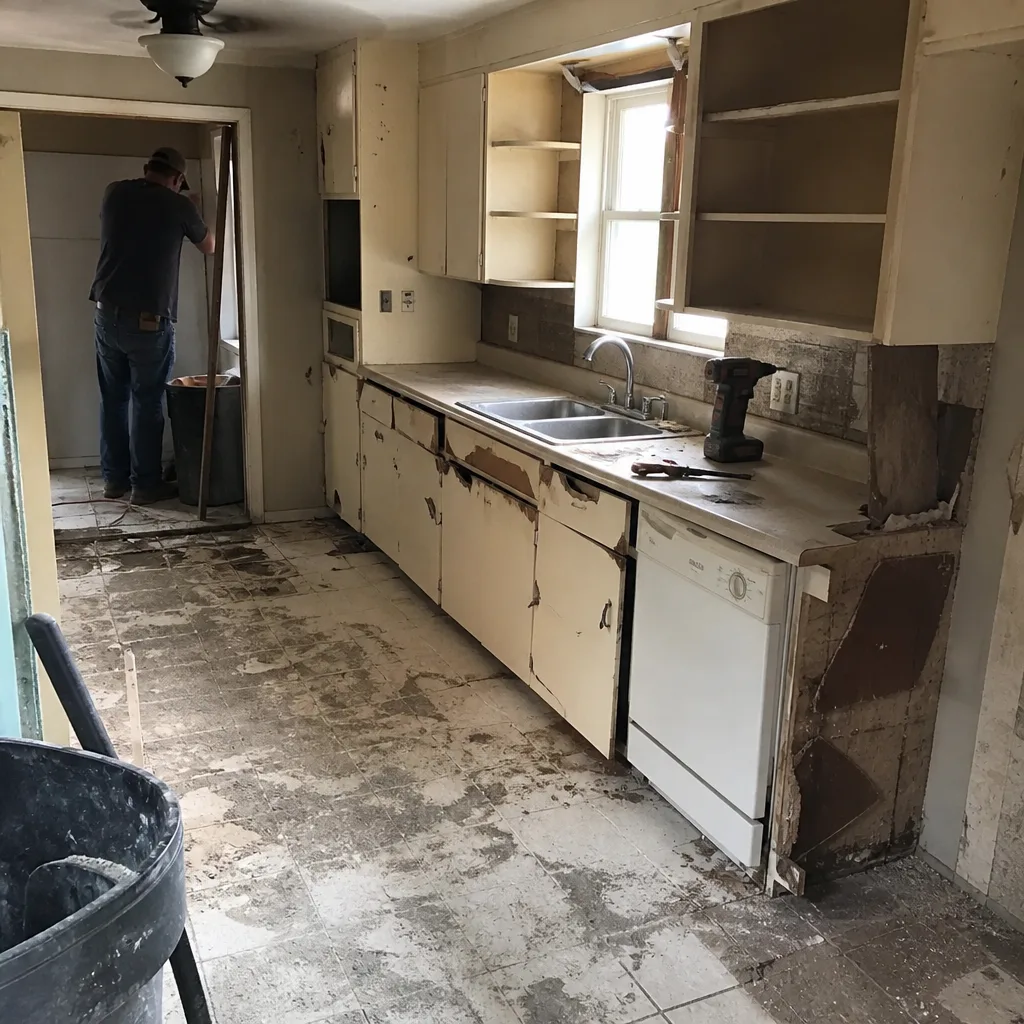 Before
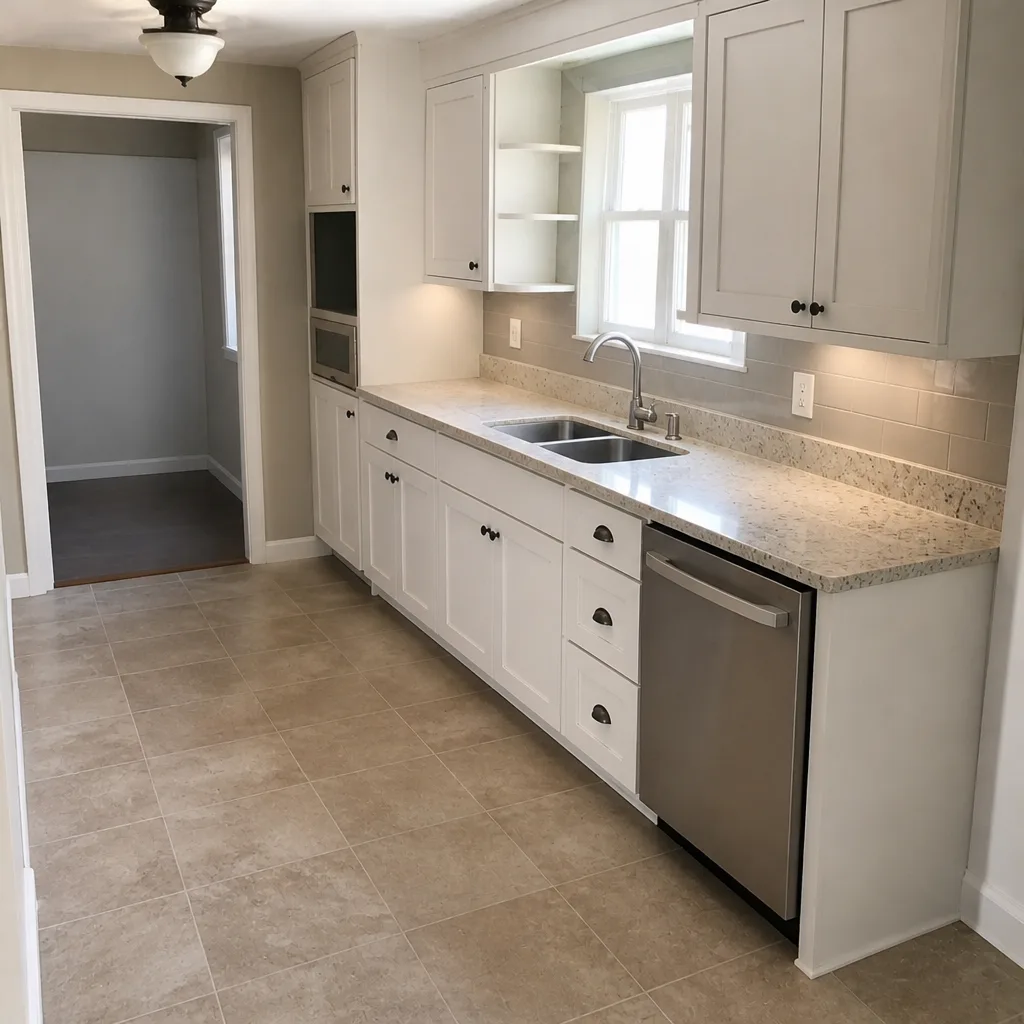 After
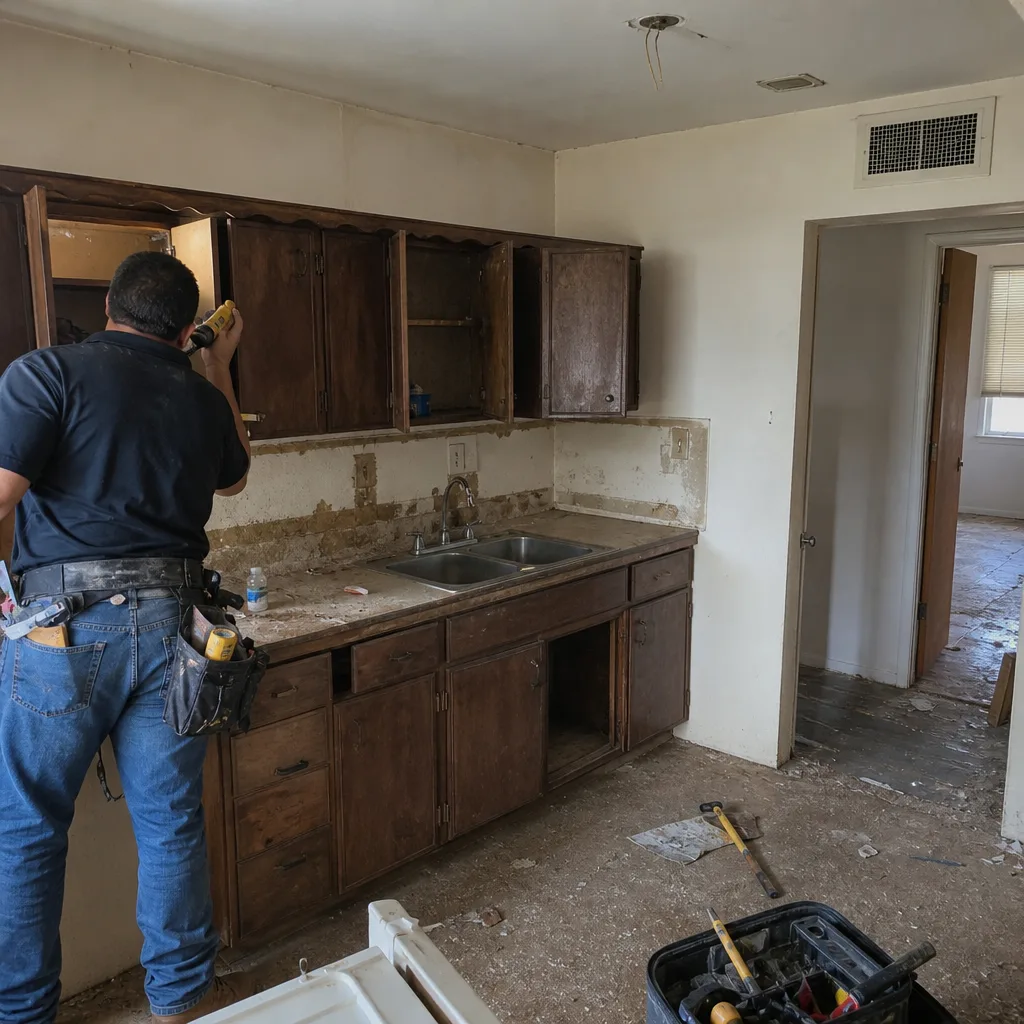 Before
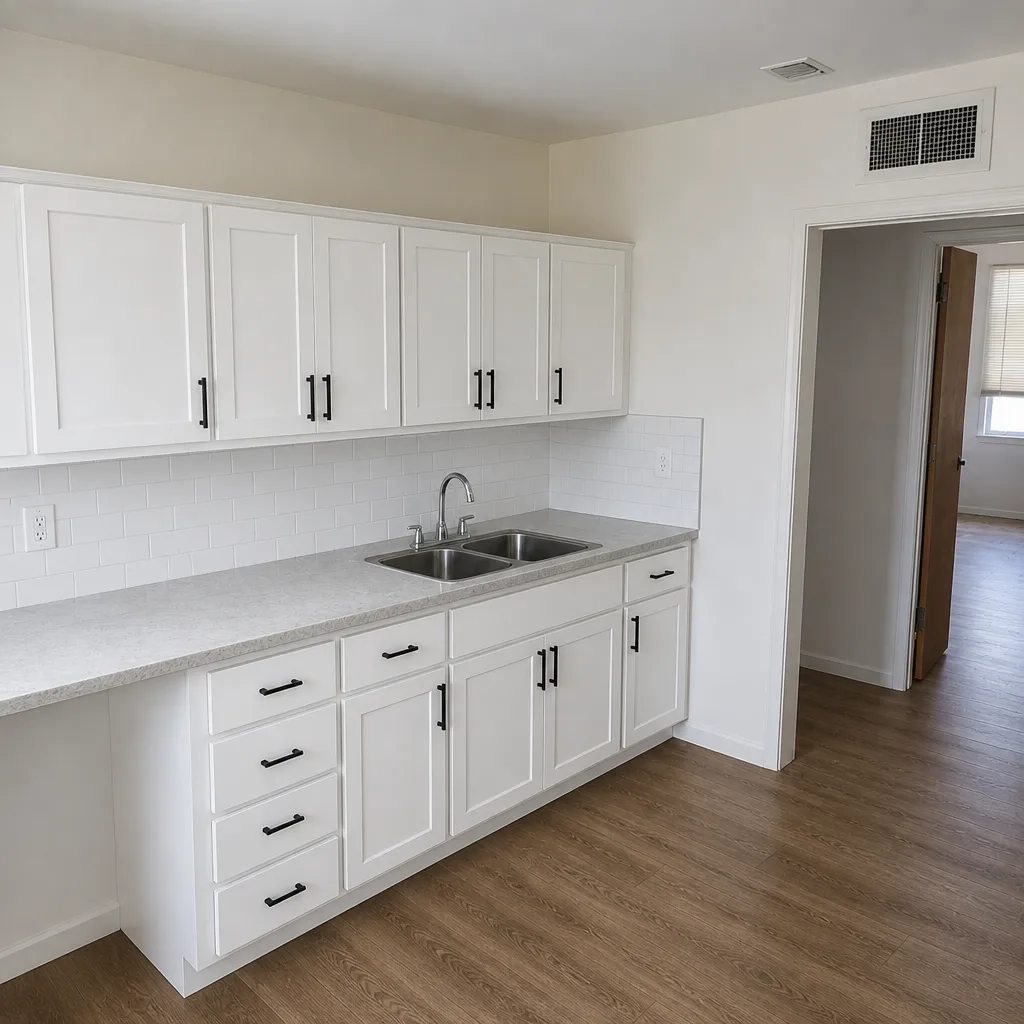 After
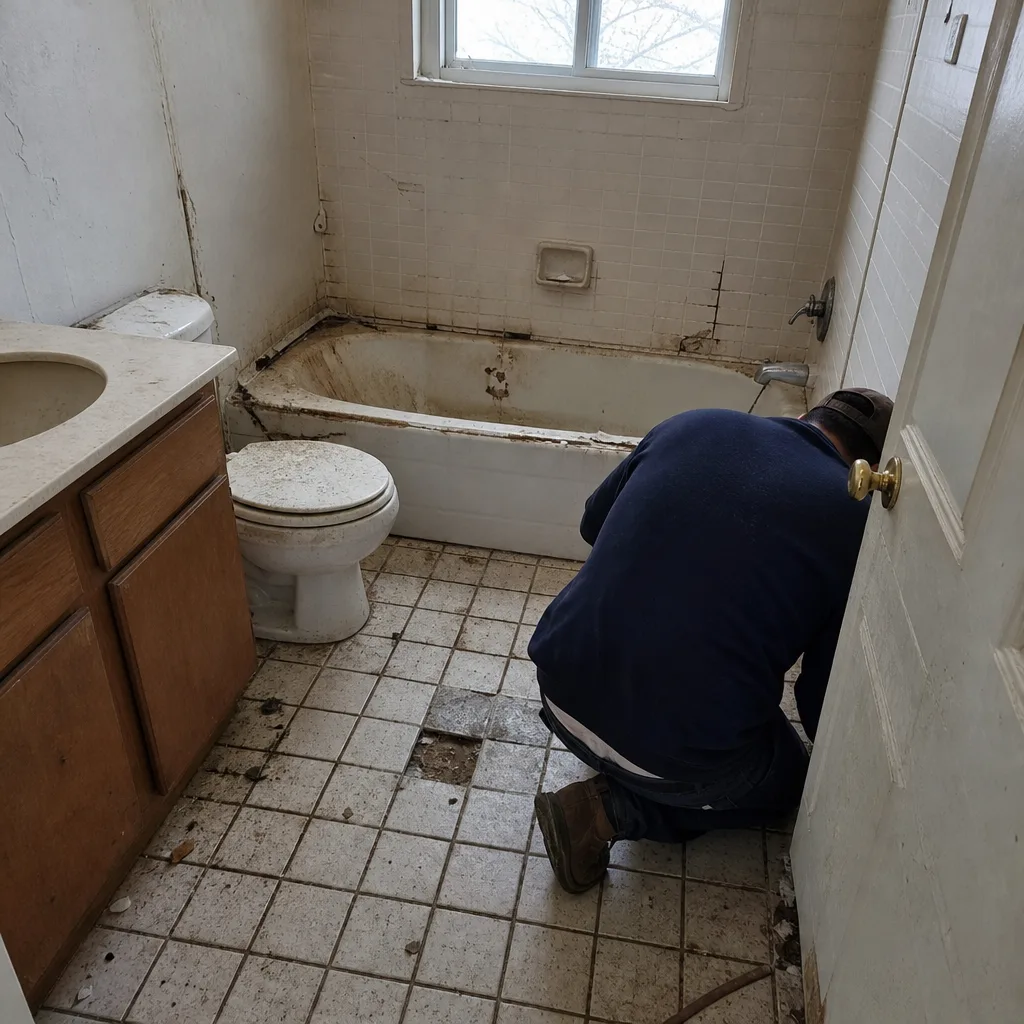 Before
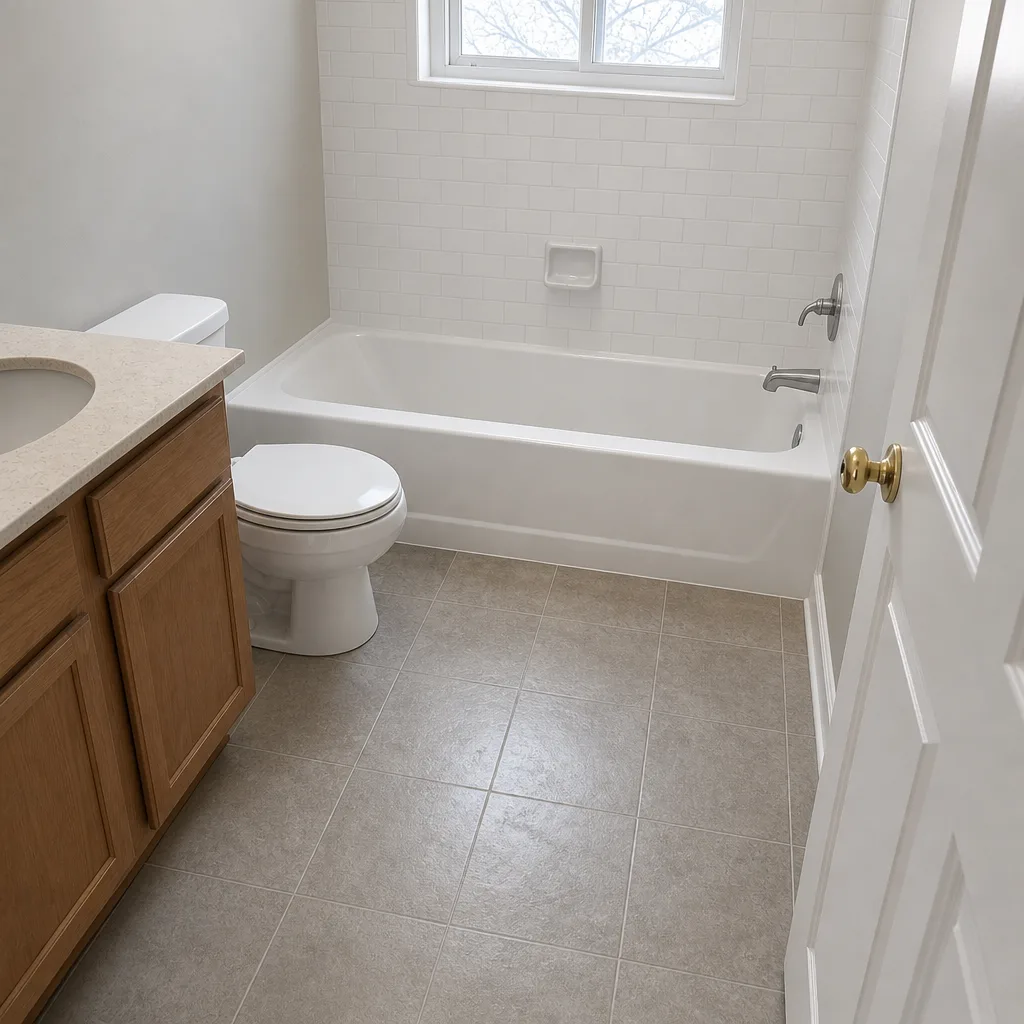 After
When to Call a Professional
Some fixes belong in your own hands – recaulking a dry seam, rinsing a faucet aerator, replacing a fan grille. Others don’t. Call a professional when: tile is loose or lippage is beyond a hairline; the subfloor flexes underfoot; water is coming through a ceiling or into a crawl space; the exhaust fan doesn’t clear moisture after 20 minutes; pressure is low at multiple fixtures; or a remodel reveal shows soft wood, musty smell, or black staining inside a wall. Electrical, plumbing rough-in, and structural repairs are never weekend DIY territory, and in Arlington a permitted remodel requires licensed trades and passing inspections.
Barrett & Sons Construction Arlington offers free estimates in Arlington – call (888) 590-9867. We pull every permit and walk every inspection, because the inspector works for you, not for us. If you’re early in a remodel and want a second set of eyes on the scope, our Barrett & Sons Construction Arlington home page lists the trades and brands we work with. And if the bathroom remodel turns into a bigger project – widening a too-tight bath, adding a second bath, or a full Home Additions & ADU in Arlington – that’s the conversation to have with us before the walls go back up.
Frequently Asked Questions
Grout cracks because the tile assembly is moving underneath it, almost always from a flexing subfloor or a substrate that wasn’t properly prepared. Regrouting without fixing the substrate is a temporary patch that fails again within months. The real fix is pulling the affected tile, confirming the subfloor meets deflection standards, and re-laying over proper backer board or an uncoupling membrane. If your grout cracked in the first year, that’s a workmanship question worth raising with your contractor in writing, and worth a free second opinion on any written estimate.
First, unscrew the faucet aerator and rinse the screen – mineral scale or scale that broke loose during the swap is the most common culprit and the fix is free. If pressure is low at other fixtures too, the supply lines are the problem, not the fixture. In Arlington homes with original galvanized plumbing, this happens often because pipe scale narrows the inside of the line over decades. Call (888) 590-9867 for a free estimate if the pressure drop is whole-house; a partial repipe is usually the answer, and it’s better to know before the wall goes back up.
The fan is undersized, the duct is blocked or vented into the attic instead of outside, or the fan simply isn’t running long enough. A 40-square-foot bath needs at least 40 CFM, and showers need 20-30 minutes of run time afterward. Venting into an attic is the most damaging mistake we find in Arlington and leads to attic mold and roof rot, which is not cheap to correct. If the ceiling above the shower shows bubbling paint or a rust ring, get it looked at.
Stop work, document it with dated photos and a written description, and get a written change order for the scope and price before any repair starts. Fix the source first – a failed caulk joint, wax ring, or valve – then repair the damage. Typical Arlington-market ranges: $300-$800 for minor subfloor repair, $1,000-$3,000 for limited mold remediation, and $1,500-$4,000 for a partial plumbing repipe. A legitimate contractor puts every price change in writing before the work happens. Call (888) 590-9867 for a free estimate on the repair.
In most cases, yes – any bathroom remodel that involves moving plumbing, electrical, or structural framing requires a permit and inspection in Arlington. Cosmetic work like paint, tile over existing surfaces, and fixture swaps usually doesn’t. The permit protects you: the inspection record proves what was done and when, which matters if a problem shows up later. Ask for the permit number before work starts, and confirm every eligible job we handle includes permits pulled and inspections signed.
It depends on the contract, and that’s exactly why the warranty has to be in writing. A workmanship warranty typically covers defects in the contractor’s own installation – grout failing, a poorly pitched drain, a floor that wasn’t properly built – and excludes damage from homeowner use, pre-existing conditions that weren’t in the scope, and normal wear. Our 90-Day Done Right Promise is written on every construction and remodeling contract – if it’s not done right, one call brings us back. Ask any contractor to show you the warranty in writing before you sign, and get a free second opinion on any written estimate you’ve been given.
The Bottom Line
Bathroom remodel problems are almost always cheaper when diagnosed by cause rather than treated by symptom. Grout cracks mean substrate movement. Caulk failure means joint movement or trapped moisture. Pressure drop means a supply restriction upstream. Foggy mirrors mean exhaust that isn’t working. Tile lippage means a floor that was never properly built. And the biggest hidden problem of all is the one a bad remodel covered up that only shows on the next remodel’s reveal – which is why we say: get the inspection, get the change order in writing, and know what’s behind the wall before the tile goes on. Every one of these is fixable – and none of it requires a full rebuild if you catch it early.
Written by the team at Barrett & Sons Construction Arlington.