
Last updated November 17, 2026
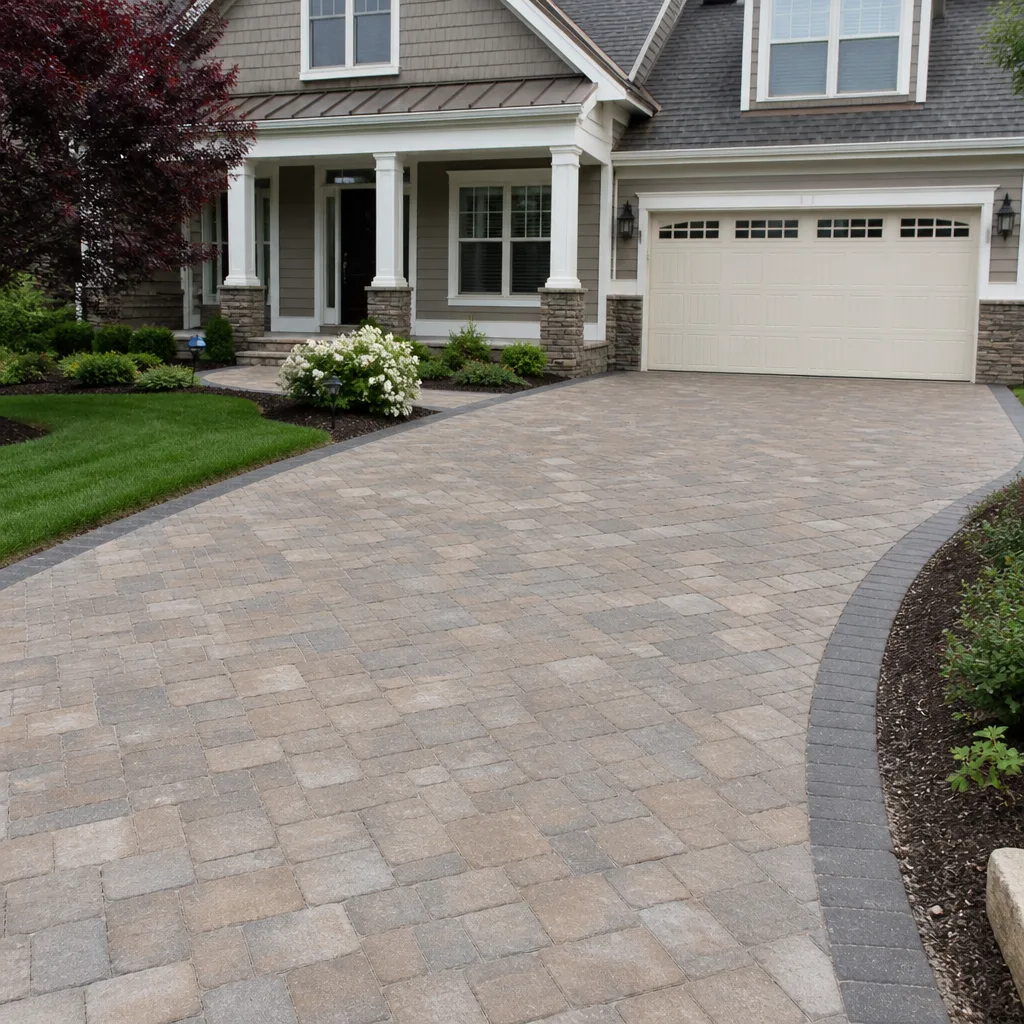 Driveway & pavers
 Kitchen remodeling
 Bathroom remodeling
 Home additions & ADU
 Roofing
 Windows & doors
 Fence
Free written scope consultation - allowances, timeline, and change-order rules on paper before a single trade is scheduled
Driveway & Pavers Warning Signs Every Homeowner Should Know
A single sunken section the size of a dinner plate is not a cosmetic problem. It’s the driveway telling you water has found a path into your base, and you have one season before that section doubles in size. We’ve watched this exact scenario play out across Arlington more times than we can count – a homeowner ignores a small dip through one rainy spring, and by the next summer they’re looking at a $6,000 base rebuild instead of a $200 repair. This guide teaches you to read your driveway the way a contractor does, so you catch the signals while they’re still cheap to fix. Every warning sign here is something you can spot yourself, on your hands and knees, with nothing more than a straightedge and an afternoon.
Quick Answer
The main warning signs of failing pavers are sunken or heaved sections, edge pavers that shift or lift, water that pools more than 30 minutes after rain, sand washing out of the joints, and a specific zigzag crack pattern that tells you tree roots are pushing from below. Any one of these means water or roots have compromised the base, not just the surface. The earlier you catch them, the smaller the repair. In Arlington’s clay-heavy soil, these problems develop faster than in most of the country because the ground itself moves with every wet and dry cycle.
Styles & brands we work with
- Kitchen remodeling
- Bathroom remodeling
- Home additions & ADU
- Roofing
- Windows & doors
- Driveway & pavers
- Fence
Table of Contents
- The Five Visual Patterns That Separate Base Failure from Surface Wear
- Why Edge Pavers Lift First (and What Follows)
- What Standing Water 30 Minutes After Rain Really Means
- How to Spot Tree Root Intrusion Before It Buckles a Section
- Warning Signs Specific to Arlington Conditions
- A 10-Minute Walkthrough You Can Do This Weekend
- Repair or Replace? How to Read the Severity
The Five Visual Patterns That Separate Base Failure from Surface Wear
Not every flaw in a paver driveway is a crisis. Some are just wear. The difference comes down to whether the problem sits on top of the pavers or under them. Surface wear lives in the top inch – chips, faded color, joint sand that’s thinned out. Base failure lives in the six to twelve inches of compacted gravel and sand beneath the pavers, and it shows up in patterns you can trace from above. Here are the five to know.
- Dishes and bowls. A circular dip with a low center and raised edges is a bowl. Water collects there, and the bowl gets deeper each season. This is base loss, not settling.
- Tents and ridges. A section that rises above its neighbors like a small tent usually means something is pushing up from below – a root, a frost-heave signature, or clay expansion. In Arlington, clay expansion is the usual suspect.
- Stair-stepping joints. When one paver sits a quarter-inch higher than the one beside it in a line that repeats down the drive, the bedding layer has shifted and the pavers are rocking. That rocking grinds the sand away and the gap grows.
- Widening joint gaps in a strip. A single line of joints that’s noticeably wider than the rest tells you the pavers on either side have moved apart. Something below has moved and the field is trying to follow.
- Randomly loose pavers in a cluster. One loose paver happens. Six loose pavers in a rough circle is a base problem with a defined footprint, and it’s the easiest of all failures to repair while it’s small.
The trick is to ignore the pavers themselves and look at the lines. A paver field should read like a piece of graph paper – straight, even, flush. Any place where the graph paper bends, dips, or wrinkles is where the base has moved. When you’re ready to have one of these patterns looked at, our Driveway & Pavers in Arlington page explains how we diagnose and repair each one.
Why Edge Pavers Lift First (and What Follows)
The edge of a paver driveway takes more abuse than any other part of the field. It’s where your tires cross from grass or gravel onto pavers, where runoff concentrates, and where the restraint that holds everything tight is easiest to compromise. That’s why edge pavers almost always lift and shift before anything in the middle of the drive. When they do, it’s the earliest warning the whole field will follow.
A paver driveway is held together by edge restraint – usually a spiked plastic or metal strip, sometimes a poured concrete curb – plus the friction of tightly fitted pavers and joint sand. When the restraint fails or the soil beneath it settles, the edge pavers have nothing holding them in. They slide outward a quarter inch at a time. That outward drift opens the joints behind them, which lets water in, which softens the base, which lets more pavers move. We’ve seen a single failed edge restraint undo forty feet of otherwise perfect driveway in three or four seasons.
Walk your drive edges this weekend and look for these:
- Pavers sitting proud of the restraint strip, or the strip itself exposed and broken
- A gap between the paver edge and the adjacent lawn or gravel that’s wider than it used to be
- Joint sand trickling out of the edge joints, leaving dark empty lines
- Edge pavers that rock or wiggle under a boot heel
- Grass or weeds sprouting between the edge pavers – a sure sign of open joints
Edge restraint repair is one of the least expensive fixes in hardscaping. Left alone, the same problem becomes a full-field re-lay. It also matters for the work around your driveway – if the edge of your drive is meeting a fence line that’s also shifting, it’s worth having both looked at together. Our Fence Installation in Arlington page covers how fence posts and driveway edges share the same drainage patterns.
What Standing Water 30 Minutes After Rain Really Means
Every paver driveway will have a few shallow puddles while it’s raining. That’s normal. What’s not normal is water still sitting on the surface 30 minutes after the rain stops. That’s the threshold we use to diagnose a grading or drainage problem, and it means only one of two things: either the surface slope is wrong and water can’t find its way off, or the joints and base aren’t draining.
Here’s how to tell which one you’re dealing with. When the rain ends, take a photo of any standing water. Come back in 30 minutes and take a second photo from the same spot.
- Water gone within 30 minutes: The joints are draining and the slope is fine. This is normal surface wetness.
- Water still there, but slowly shrinking: The joints are partially clogged with fines and silt. A joint sand refresh usually restores the drainage.
- Water completely unchanged after 30 minutes: The surface has a low spot with nowhere to drain. Water will sit until it evaporates, and the base under that spot is soaked.
- Water appears in a new spot after every rain: The grade has shifted, and this is a sign of base settling.
A paver driveway should be sloped to shed water at roughly 1 to 2 percent away from the house and down the drive. In Arlington, where our spring storms can drop an inch in twenty minutes, a low spot that would barely matter elsewhere becomes a real problem. Standing water keeps the base saturated, and saturated clay subsoil under a paver drive loses its load-bearing strength fast. Fixing a drainage issue early costs a fraction of fixing the base it eventually destroys.
How to Spot Tree Root Intrusion Before It Buckles a Section
Tree roots are patient. They push a millimeter at a time, and by the time the paver surface buckles, the root has been working under there for years. The good news is that roots leave a signature crack pattern, and once you know it, you can spot the problem long before it reaches the surface. The key is to look for a specific geometry, not just a random crack.
Root intrusion almost always creates a centered ridge line with tension cracks fanning out from the crown of the ridge, like a crust of bread being pushed from underneath. That’s different from a settling crack, which forms a low V you can stick a coin into. If you have a large tree within about 20 feet of your driveway, walk that side of the drive and look for this pattern:
- A distinct rise in the pavers that traces a straight or gently curved line, following the direction the tree’s roots would run
- Cracks in the surface radiating outward from a raised point, with the widest joint gaps at the crown
- Pavers pushed up and tilted, not just displaced sideways
- A pattern of lifted pavers that appears to “travel” toward the tree from one season to the next
Mature pecan, oak, and elm trees are the most common culprits in Arlington. Root barriers can be installed along the drive’s edge during a paver rebuild to protect the driveway going forward. Cutting roots on a mature tree is a job for a certified arborist, not a paving crew – we always recommend a licensed tree specialist handle the tree side, and we handle the driveway. Our Home Additions & ADU in Arlington page explains how root intrusion also affects the foundation and slab work that goes into a new addition.
Warning Signs Specific to Arlington Conditions
The soil under most of Arlington is the black, waxy clay known as Houston Black, and it does something most homeowners don’t realize: it swells when wet and shrinks when dry. That movement is measured in inches over the course of a year, and every time it moves, it nudges the base of your driveway. That’s why paver problems show up so fast here compared to areas with sandier or rockier soil. Three warning signs are particular to Arlington.
Clay expansion ridges
When the dry season comes, the clay shrinks away from a driveway’s edge and creates a visible gap between the pavers and the surrounding soil – often a half-inch or more. When the wet season returns, the clay swells and pushes back, but the pavers don’t always go back where they were. Look for a ridge line running parallel to the edge of a sidewalk or curb, where the swelling clay has pushed pavers up. This happens most often after the late-summer dry spell, and the ridges are the earliest sign the base is being flexed.
Iron staining along joints
Arlington water carries a fair amount of dissolved iron, and when it sits in joint sand for a season it leaves warm orange-brown stains, mostly on the low side of the drive. Surface stains are cosmetic. Stains that appear in a tight band across all the joints in one area usually mean water is cycling in and out of the joints repeatedly, which is a drainage issue worth fixing before the base saturates.
Heat-related sand erosion
North Texas summers crack joints and blow out sand. When the joint sand thins from a July heat wave, the joints open, and the pavers start to shift with each traffic load. We see this on west-facing drives that catch the afternoon sun especially. If your drive looks “dusty” along the joints in August, run your finger along one – if sand comes away easily, the joints are too open and should be refilled before the fall rainy season.
A 10-Minute Walkthrough You Can Do This Weekend
You don’t need any tools to read your driveway. You need one piece of advice: get down on the ground and look at the pavement edge-on, because that’s the only way to see the differences of a quarter inch that matter. Here’s the walkthrough we recommend to every Arlington homeowner.
- Walk the perimeter with your boot. Feel for rocking pavers, edge lift, and any spot where the pavers sit lower than the curb.
- Get down to pavement height and sight down the field. Look from one corner diagonally across to the other. Any dip, ridge, or wave is visible when you sight a line across the surface.
- Photograph the joints. Pick five representative spots and take a shot of the joint gaps. Re-shoot the same five spots in six months and compare. Widening gaps are the clearest early signal.
- After the next rain, check standing water at 30 minutes. Note any spot where water is unchanged, and measure roughly how big that spot is.
- Check the tree line. Walk the side of the drive nearest any mature tree and look for a rising line or fan-shaped cracks.
- Check the edge restraint. Look for a strip of plastic or metal at the outer edge – if you can see it clearly or it looks broken, the restraint has failed.
- Look at the sky in the joints. Empty joints should read as light gray or tan. Dark joints mean organic material has collected, which blocks drainage.
Do this walkthrough every spring and fall. The photos are the most valuable part, because what you’re really measuring is change. A 1/4-inch gap that’s been there for years isn’t urgent. A 1/4-inch gap that was 1/8 inch last spring is a problem worth a look.
Repair or Replace? How to Read the Severity
Once you’ve found a warning sign, the next question is whether it’s a repair or a rebuild. Here’s the simple rule we use: one problem area is a repair; a pattern of problems across the whole driveway is a rebuild. To help you gauge what you’re looking at, most paver driveways in Arlington fall into one of these tiers.
- Tier 1 – surface maintenance. Joint sand refresh, a few loose pavers re-set, a broken paver swapped out. Usually a few hundred dollars, one crew, half a day. These jobs keep a driveway healthy and are best done before any sign reaches the base.
- Tier 2 – localized repair. A sunken section of a few square feet, an edge restraint replacement, one small root-damaged area. Typically a day or two of work and a contained budget. The base gets re-compacted under the repair.
- Tier 3 – section rebuild. A section of the driveway is pulled up, the base is rebuilt, and the pavers re-laid. This is where a small ignored problem starts to cost real money.
- Tier 4 – full-drive rebuild. Multiple failure patterns, failed base throughout, or drainage that can’t be fixed in place. This is the scenario we want you to avoid by catching tiers 1 and 2 early.
Two of the most reliable brands we install in driveways are Belgard and Techo-Bloc, and both hold up well in Arlington’s summer heat and clay soil when the base and drainage are done right. Getting the base right is really the whole game.
Common Mistakes to Avoid
- Treating a sinkhole as cosmetic. Filling a dip with sand or more pavers is the classic Arlington mistake. It hides the symptom while the base keeps washing out underneath.
- Hosing down the joints instead of sweeping. A hard spray pushes joint sand out and away. Use a soft broom for debris and top up the sand in spring, not a pressure washer.
- Pressure-washing the whole surface. Pressure washing strips the joint sand and drives water into a base that may already be saturated. If a drive needs a wash, use low pressure and plan to re-sand.
- Adding soil against the edge to “raise” the grade. Piling soil against the edge restraint destroys its holding power and it’s how edge failures start. Fix the restraint, don’t bury it.
- Cutting tree roots yourself. Roots that are buckling pavers can also be anchoring a mature tree. Cutting the wrong root can weaken or kill the tree, and root barrier installation needs a trained crew. Call a tree professional and a paving crew separately.
- Ignoring a single crack in the middle of a hot summer. Arlington’s clay shrinks hardest in late summer, so cracks show up then, and too many homeowners wait until spring to look. Late-summer photos are the honest ones.
- Assuming a driveway quote on a sunny morning covers what you’ll get. Get the scope written down – base depth, restraint type, joint sand brand, and drainage plan – before work begins.
See the difference
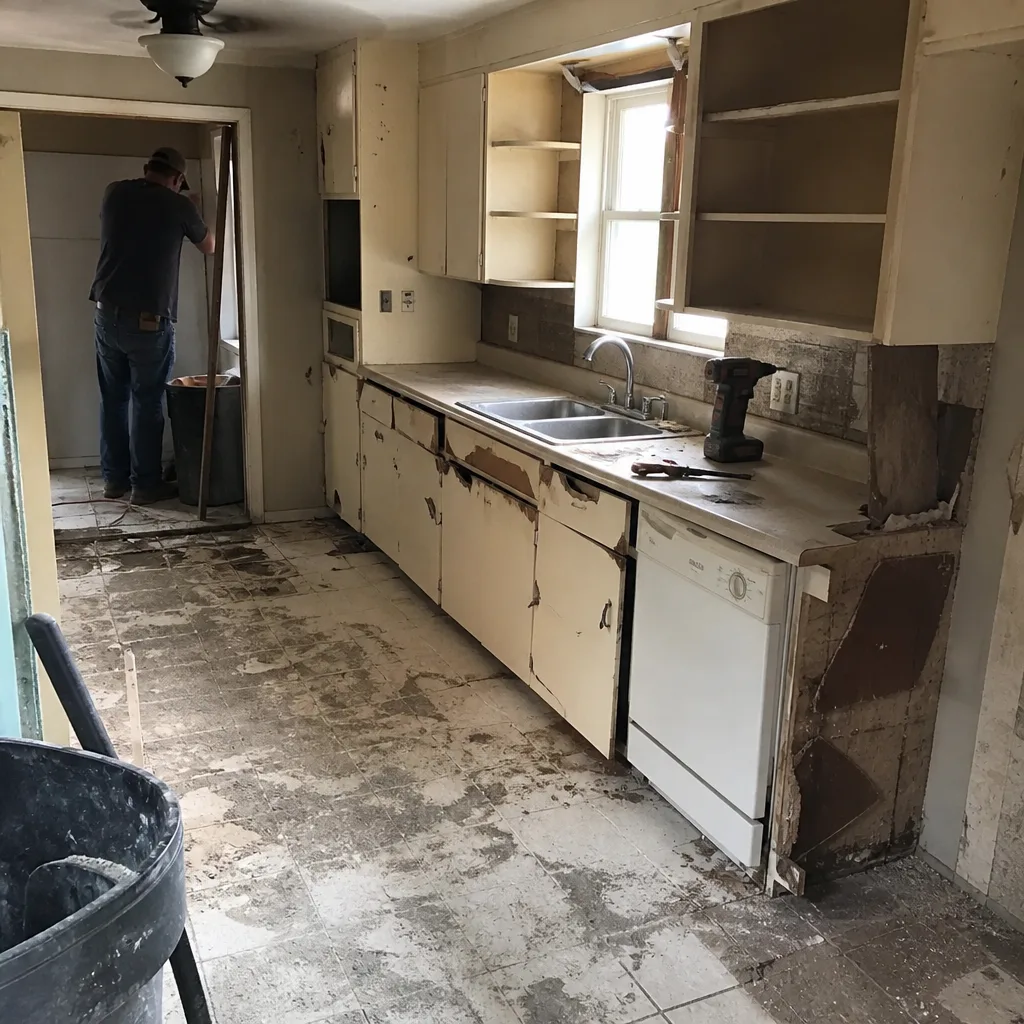 Before
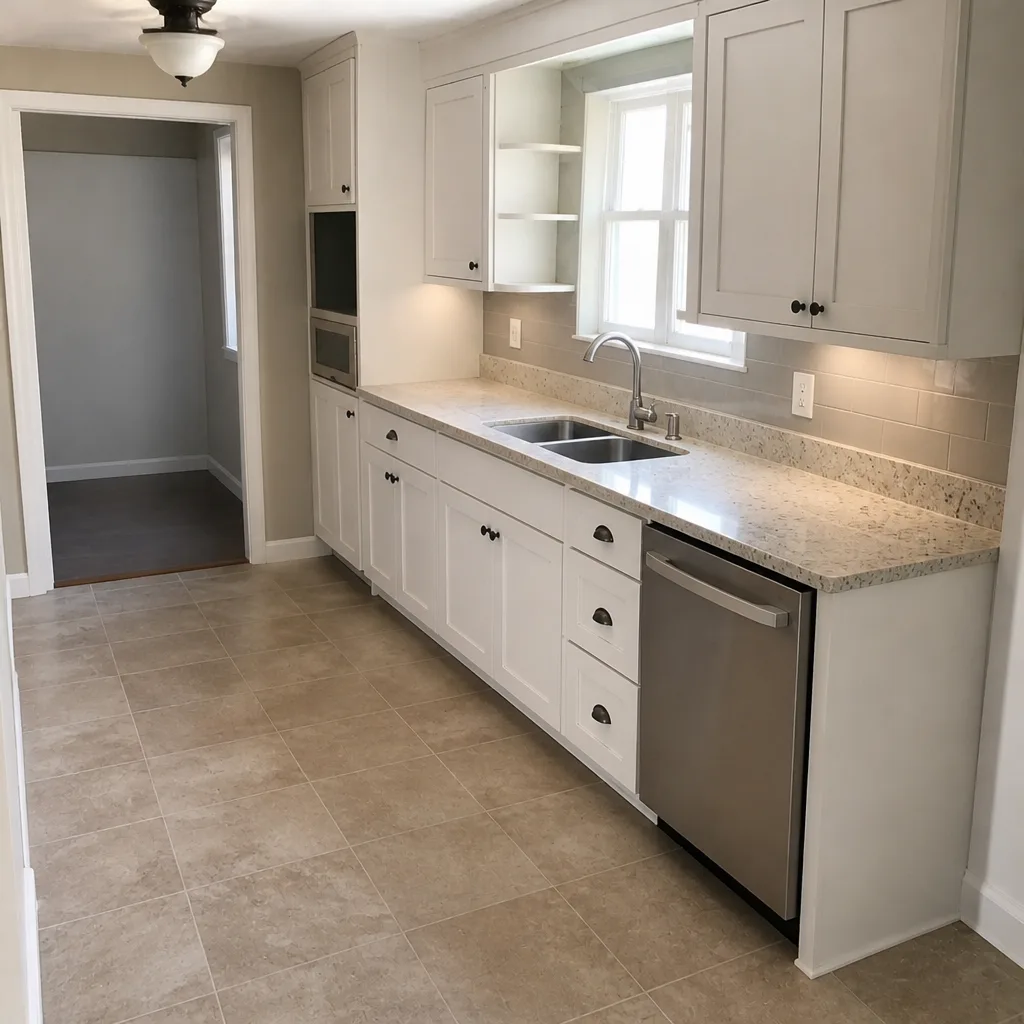 After
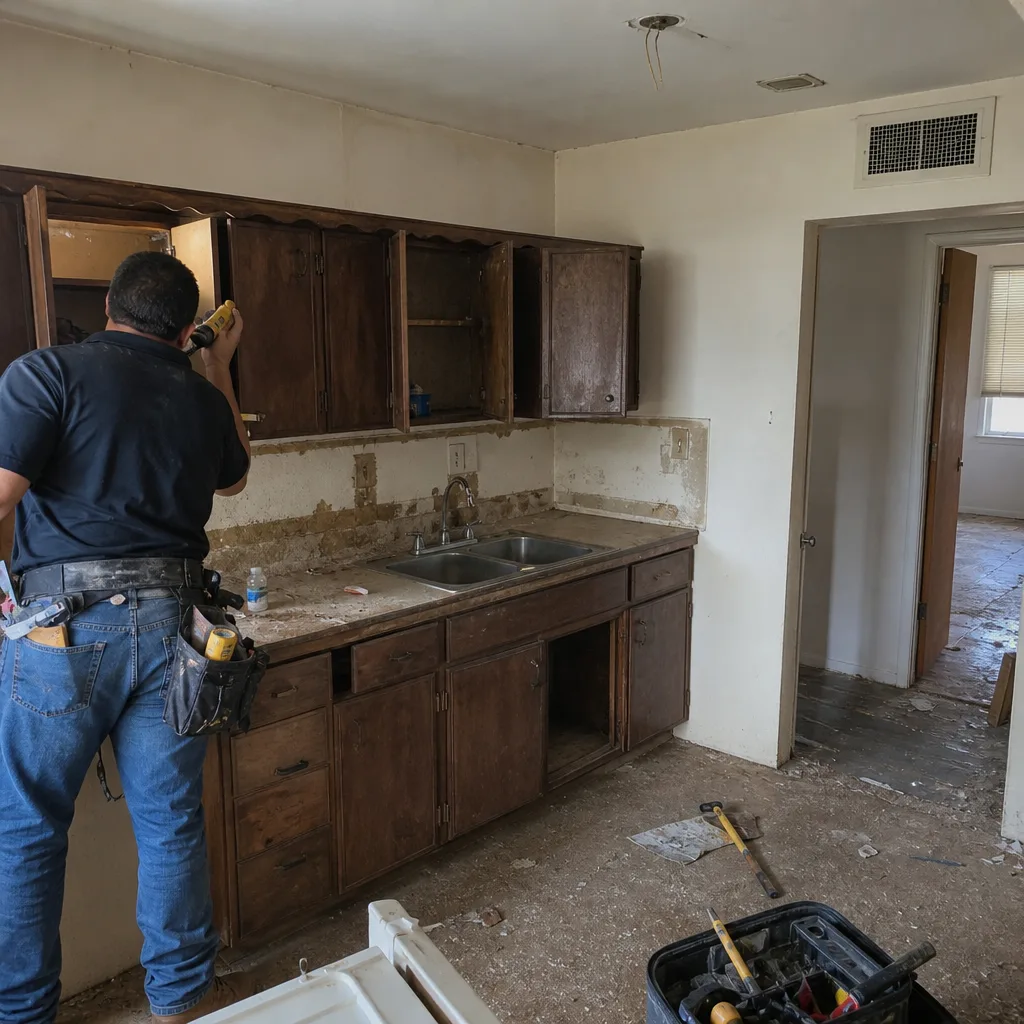 Before
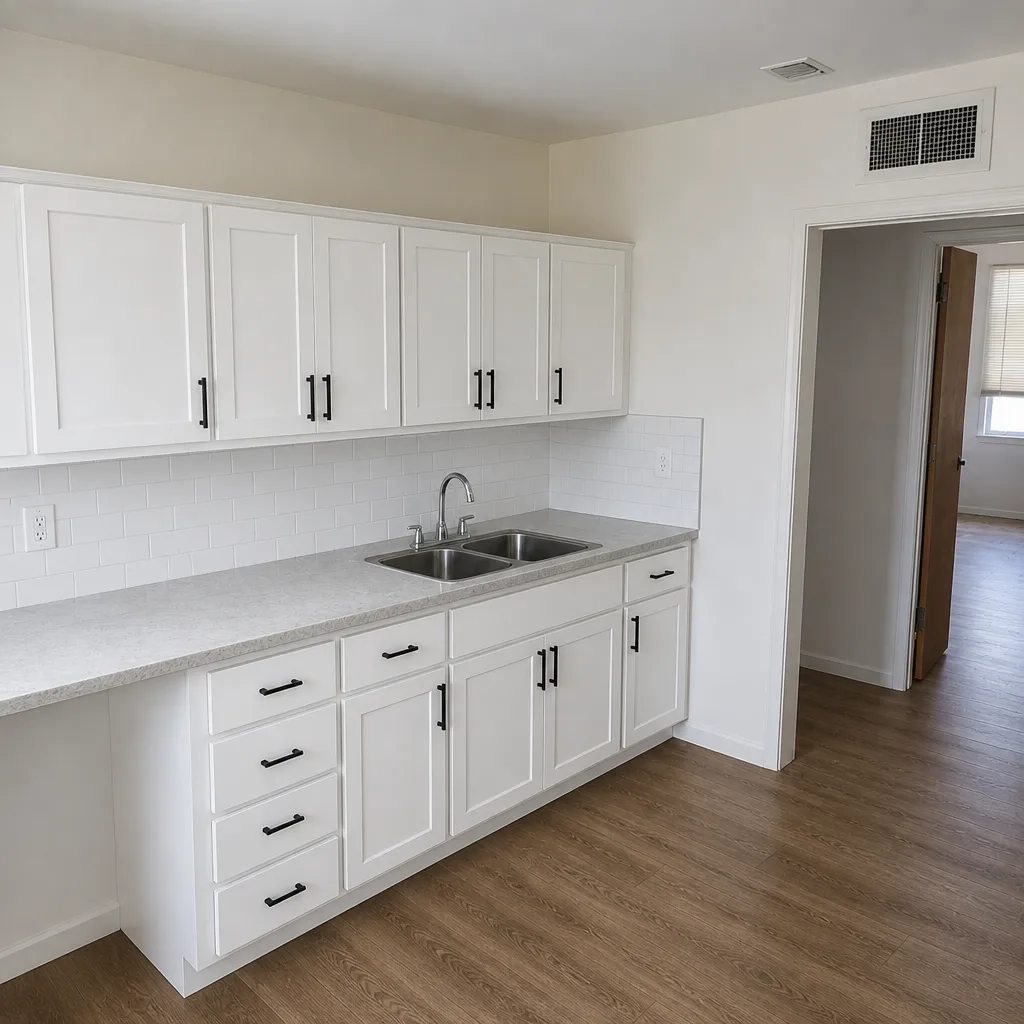 After
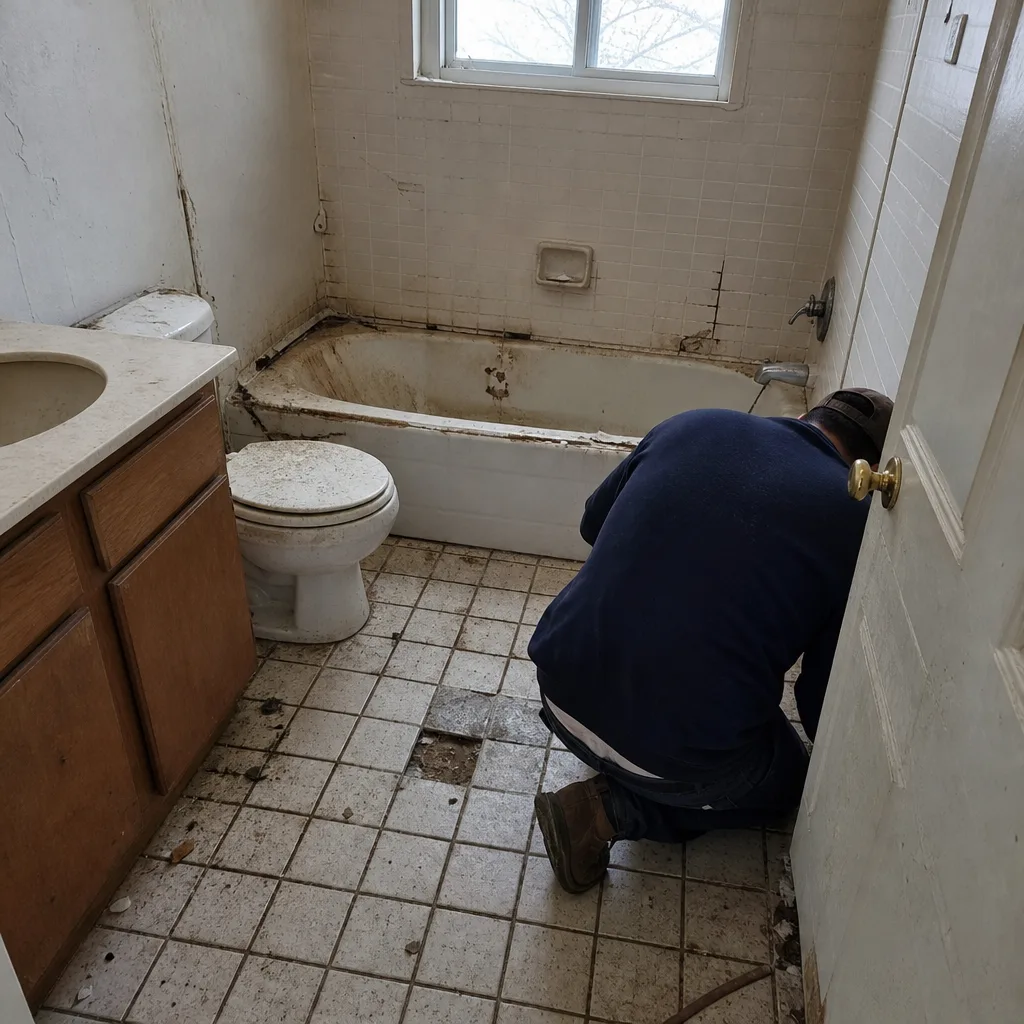 Before
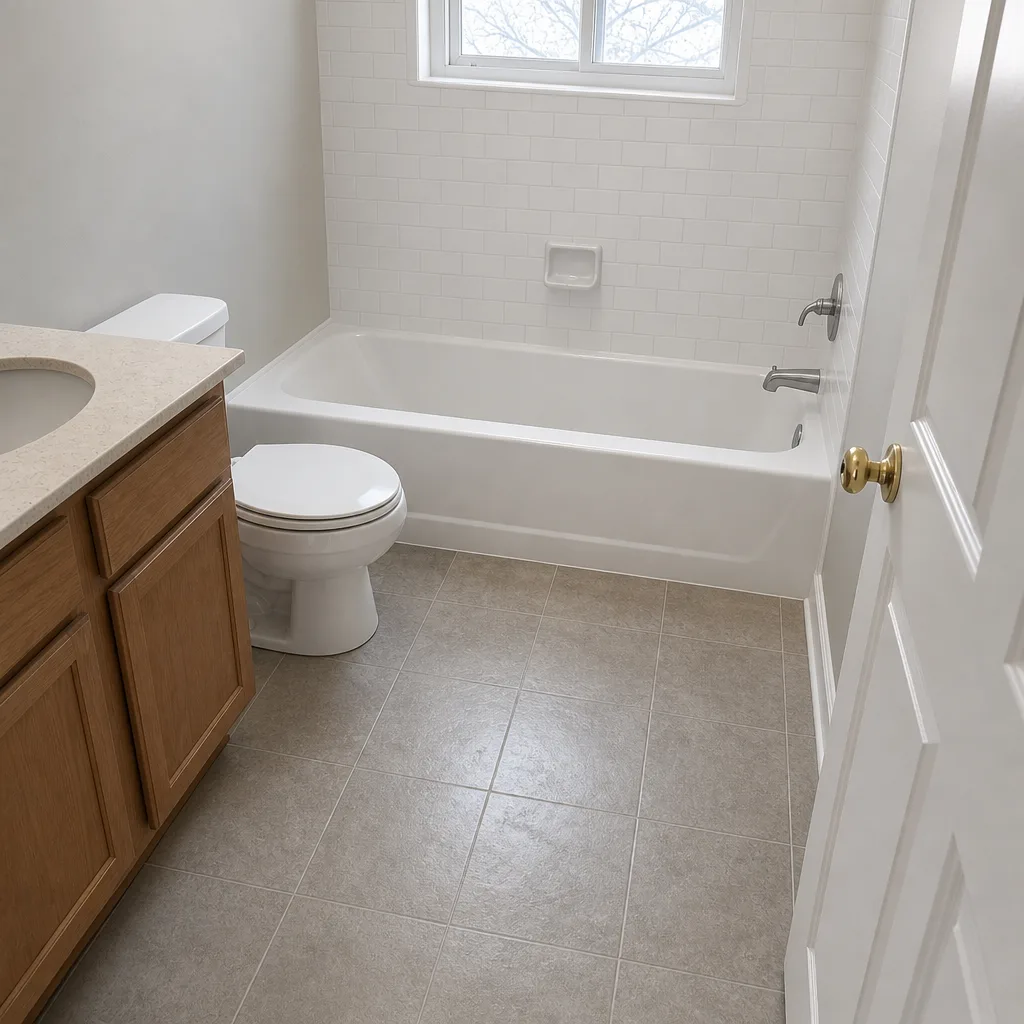 After
When to Call a Professional
Any of these situations is worth a professional look. A dip or ridge that’s grown noticeably in the last two seasons. Water that sits more than 30 minutes after every rain. Edge pavers that have shifted out and broken restraint you can see. A rising line of pavers next to a mature tree. A section that rocks underfoot. And anytime the same pavers stay loose after one attempted reset – a truly loose paver is almost always a base problem, not a surface one. Barrett & Sons Construction Arlington offers free estimates in Arlington, with a written scope you can make decisions from. Call (888) 590-9867 to schedule a look. We’re happy to meet you at the driveway and walk the same checklist from this guide with you.
Frequently Asked Questions
Small surface repairs like re-sanding joints or resetting a few pavers usually run a few hundred dollars, while a localized base repair in a few square feet sits in the low four figures. A full-drive rebuild is a much larger project and depends on square footage, base depth, and drainage work. Call (888) 590-9867 for an itemized free estimate on your specific driveway. Every price change on a job we do arrives as a written change order before the work happens, so there are no surprises on the final bill. Quotes are free.
Sinking pavers in Arlington almost always mean base compaction has failed or water is channeling under a section. The clay soil we build on swells and shrinks with the seasons, and the movement stresses the base and edge restraint over time. Standing water in one consistent spot is the tell. Call (888) 590-9867 to have the base looked at before the dip grows. Free estimates.
No, filling a dip with sand only hides the problem for a few months and lets the base failure continue underneath. The dip is caused by a cavity or compaction loss below, and the fix is to open the repair area and rebuild the base. Call (888) 590-9867 for a free estimate that identifies the source of the dip, not just the dip itself.
Most Arlington paver driveways need fresh joint sand every two or three years, and some need it annually if they’re west-facing or exposed to heavy summer heat. The sign it’s time is a dusty surface along the joints and pavers starting to shift. Call (888) 590-9867 to have your joints inspected – the sand refresh is one of the cheapest things you can do for your driveway. Estimates are free.
Small seasonal movement is normal, but pivoting or rocking pavers are not. The North Texas sun bakes the surface and thins the joint sand, and when the joints open, the pavers lose the interlock that holds the field together. If pavers rock underfoot, that’s a base sign, not a heat issue. Call (888) 590-9867 to have us look.
A professional paver repair protected with a written workmanship guarantee doesn’t hurt home value and usually protects it, since a failing driveway is what a buyer notices. An amateur patch that buckles back within a season is the one that raises flags. Barrett & Sons Construction backs construction and remodeling work with a written 90-Day Done Right Promise – if it’s not right, we come back and make it right. Call (888) 590-9867 for a free estimate.
The Bottom Line
Your paver driveway speaks to you long before it fails, and the language is visible from the edge. Water that lingers more than 30 minutes, edge pavers that have drifted or lifted, a dip that grows season to season, or a ridge line tracing toward a tree – each one is the surface sending you a bill that gets more expensive the longer you wait. In Arlington’s clay soil and heat, these signals move fast. Read the driveway every spring and fall, take photos, and act on the first sign. The goal is simple: keep a $200 repair from becoming a $6,000 base rebuild. Look at your driveway the way we do on a first walkthrough – edge-on, from the ground, comparing today to last year. When something doesn’t read right, call (888) 590-9867 for a free estimate and we’ll walk it with you. Or start with our Barrett & Sons Construction Arlington home page to see the full range of what we handle, from driveways to full remodels.
Written by the team at Barrett & Sons Construction Arlington.